Connecting to MySQL
Overview
This page details how to configure a connection to a MySQL database. Note that in some cases you may need to update your JDBC driver, so it is a good idea to consult the table of supported databases.
To Connect Ignition to MySQL Database
- From the Gateway, go to the Configure section.
- From the menu on the left, select Databases > Connections.
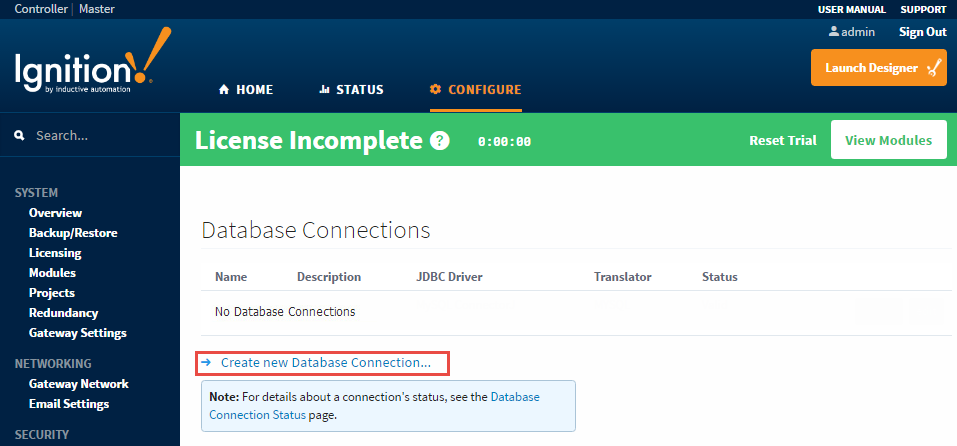
The Database Connections page will be displayed. - Look for the blue arrow, clink on Create new Database Connection....
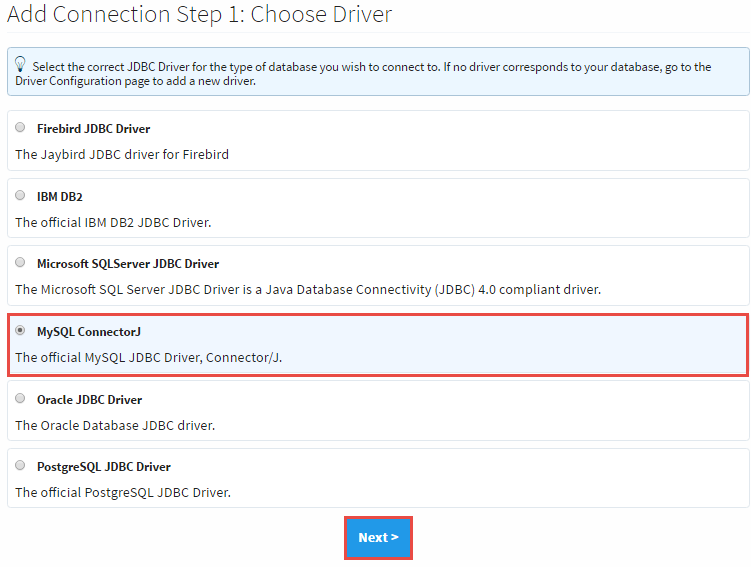
- Select the MySQL ConnectorJ driver and click Next.
note
Database connections in Ignition are powered by JDBC drivers. Ignition ships with drivers for Microsoft SQL Server, MySQL, and a few others.
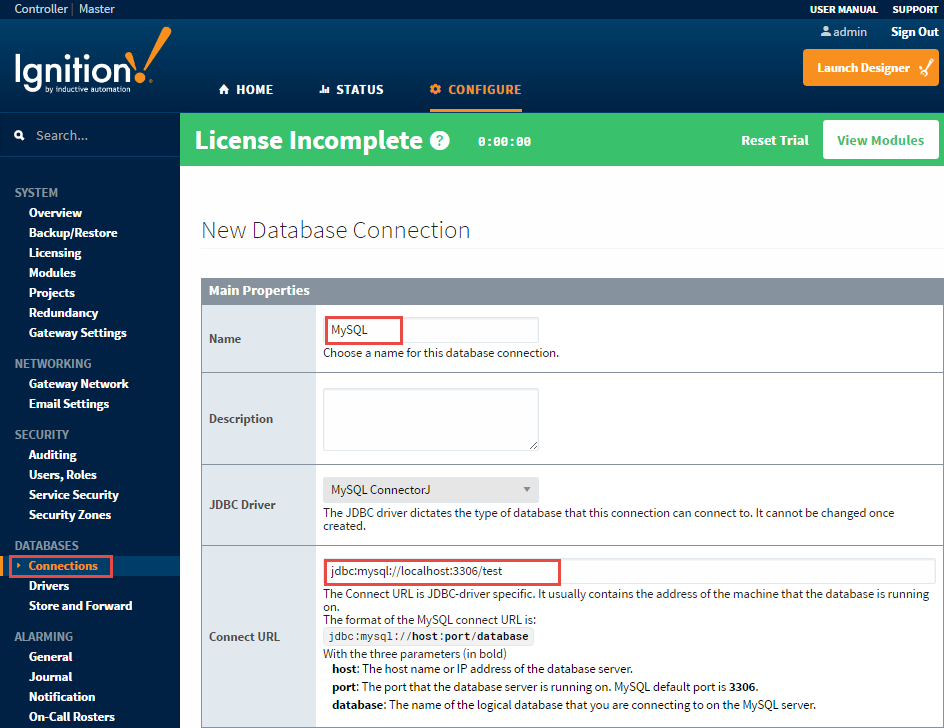
- On the New Database Connection page, enter the following information:
- Name: MySQL (Use a meaningful name such as MySQL)
- Connect URL: jdbc:mysql://localhost:3306/test (By default, MySQL creates an empty database called test)
- Name: MySQL (Use a meaningful name such as MySQL)
note
MySQL uses the following Connect URL format: jdbc:mysql://hostaddress:3306/database
Where hostaddress is the address of the machine with MySQL installed, for example: localhost, 192.168.1.1, db-server, etc. and database specifies the database the database schema the connection will target. It's important to understand that a MySQL server can host many database files. The connection will target one database.
- To configure the connection, enter the following information:
- Username: root
- Password: mysql (Password is what you entered during MySQL server installation, mysql is the password for this example)
- Extra Connection Properties: Leave at the default value. By default, the zeroDateTimeBehavior parameter is defined and it is usually not necessary to add more parameters unless you are planning to store text outside of the range of 7-bit ASCII (a-z). If you are, add useUnicode=yes;characterEncoding=utf8; to the end of the extra connection properties, including the semi-colons.
- Username: root
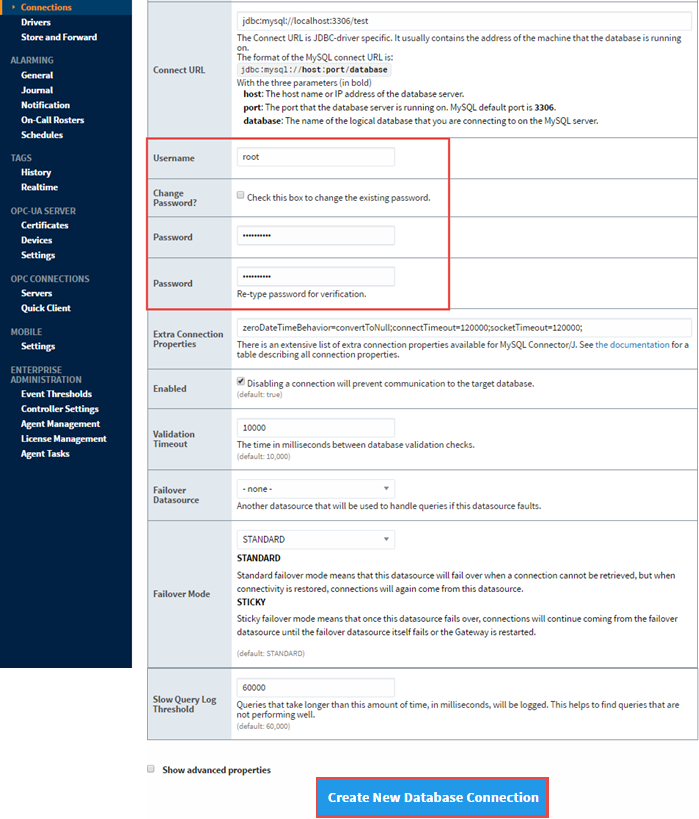
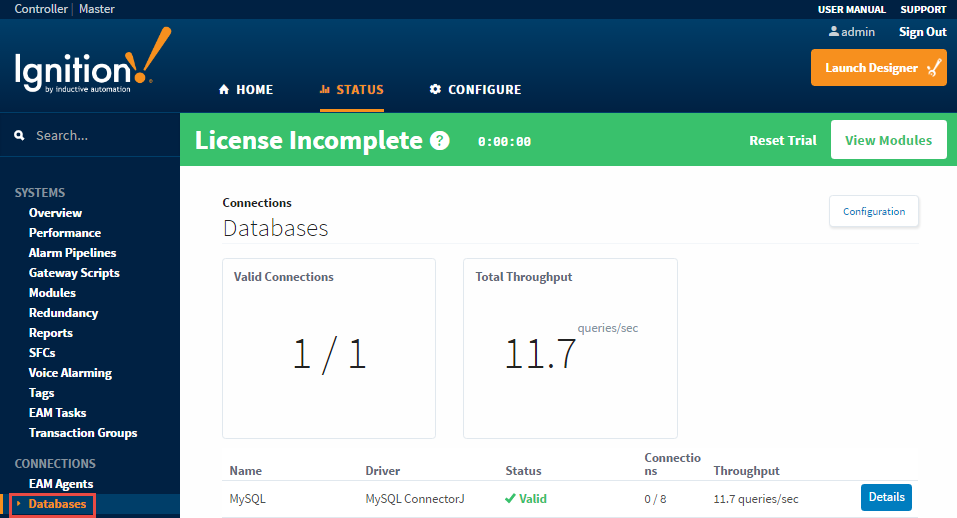
- Click on Create New Database Connection at the bottom of the form. Your connection is now created and the Database Connections page is displayed showing the Status of your connection as Valid.
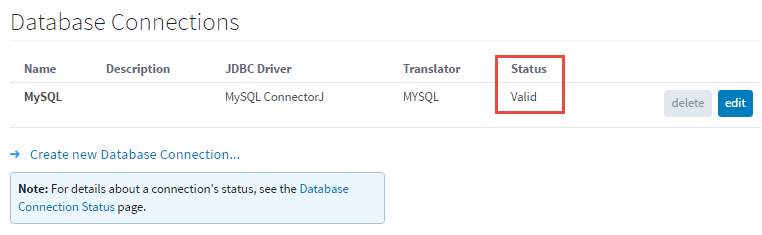
- To display the details about the status of your database connection, click the Database Connection Status link in the Note under the Database Connections list. This will display the connection status or any errors if the status is Faulted.