Agent Task - Backup and Restore
The Backup and Restore tasks are an extremely important part of the Enterprise Administration module. Performing a Collect Backup is required if you want to do an Agent Recovery.
The Gateway Tasks discussed in this section are the Collect Backup, Restore Backup, Install Modules and Restart Agent.
Collect Backup
Collect Backup is a Gateway Task that performs a Gateway backup on the selected agent Gateway. Additionally, this task will archive copies of the agent's modules.
Collect Backup times out by default after waiting 60 minutes for the agent to generate the backup, plus another 60 minutes for the agent to transfer the backup to the controller over the Gateway Network if the backup generation did not timeout.
Transfer timeout is configurable using the system property ignition.eam.task.collectBackup.transferTimeout.
-
On the controller Gateway, navigate to Network > Enterprise > Agent Tasks
-
Click Create Agent Task.
-
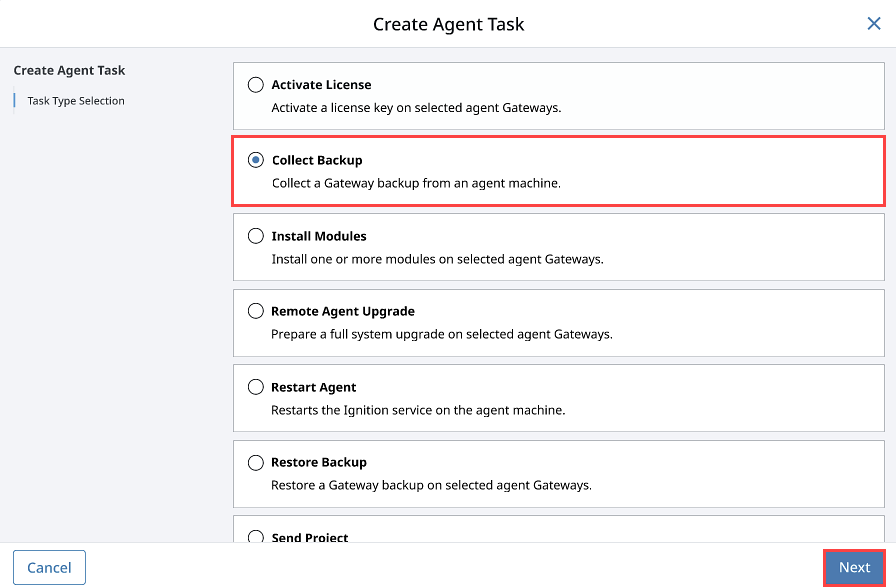
Select Collect Backup and click Next. The Create Agent Task form will walk you through each step of the Collect Backup process.
-
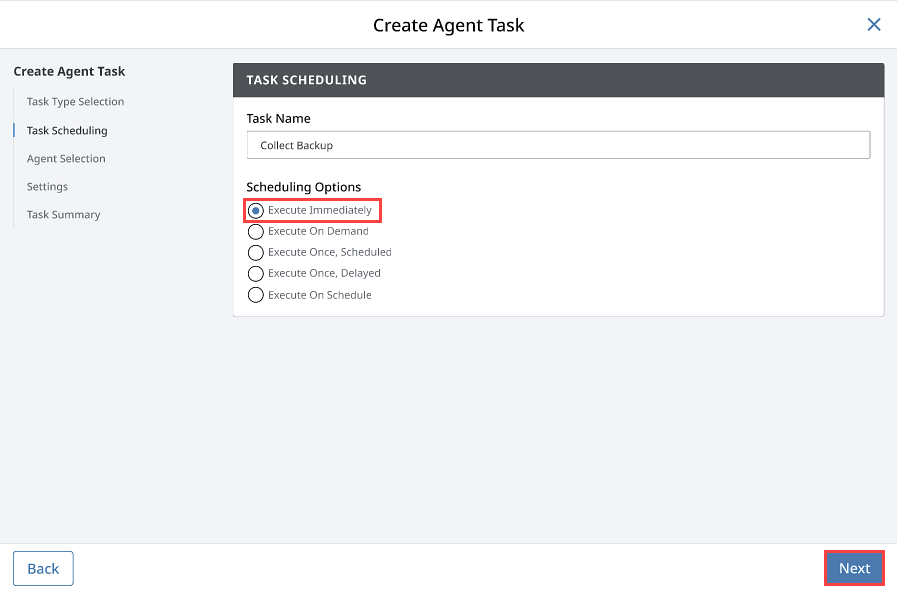
There are several different task scheduling options available. For this collect backup example, choose to Execute Immediately and click Next. If you need more information on other scheduling options, refer to Task Scheduling.
-
Select the agent you want to perform the Collect Backup on, and click Next.
-
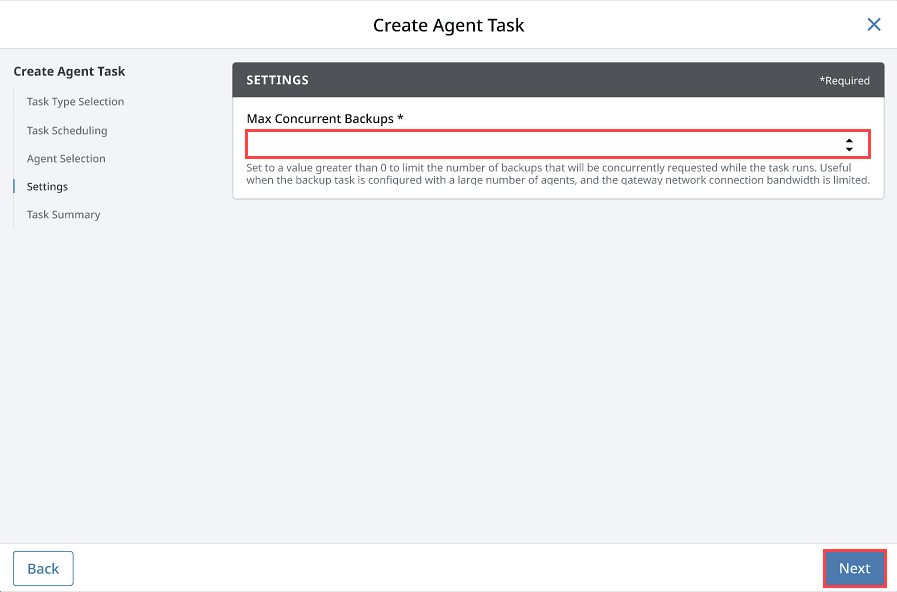
Set the number of Max Concurrent Backups you want. There is no limit by default, though setting a higher value may help if there is a large number of agents, or if network bandwidth is limited. Click Next.
-
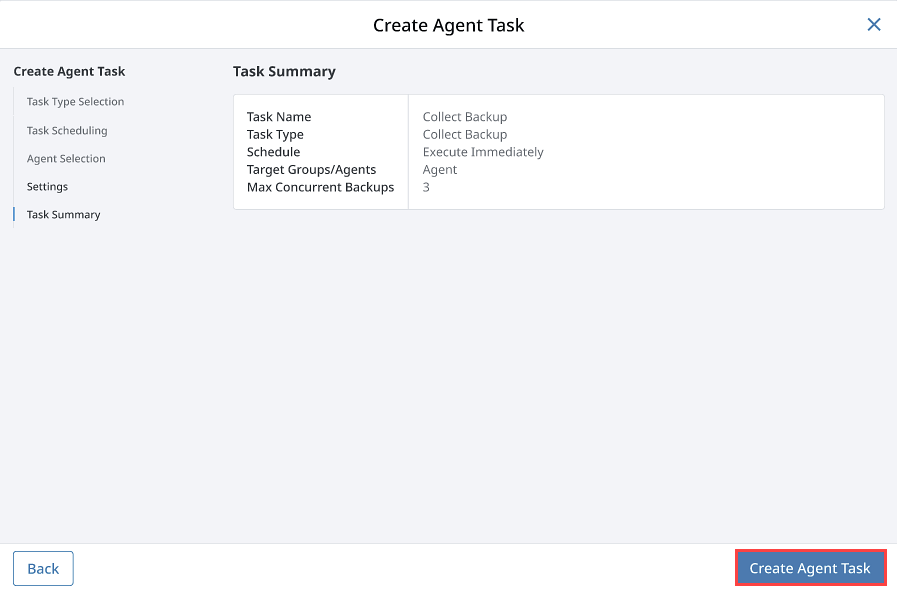
Review the Task Summary information and click Create Agent Task.
Once the Collect Backup task is complete, a success message will be displayed. You can even check the Task History which will provide a list of all previously executed tasks. Your new Gateway backup will be stored wherever your controller settings are pointing to when the controller was initially created.
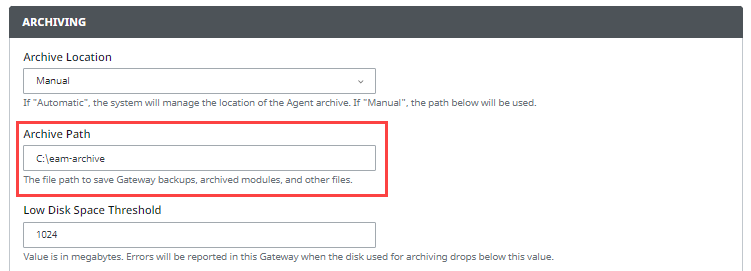
To check, go to the controller Gateway, and navigate to Network > Enterprise > Controller Settings. You can have your Archive Path set to Automatic or Manual. If you have it set to Automatic, you can find your backups inside the directory for Ignition, otherwise, it will be the folder location that is specified in the Controller Settings. To learn more about controller settings, refer to Creating a Controller.
Restore Backup
Now, let’s restore a Gateway backup on the selected agent.
When restoring from a backup using this task, the newly restored agent will retain it's previous name.
-
On the controller Gateway, navigate to Network > Enterprise > Tasks.
-
Click Create Agent Task.
-
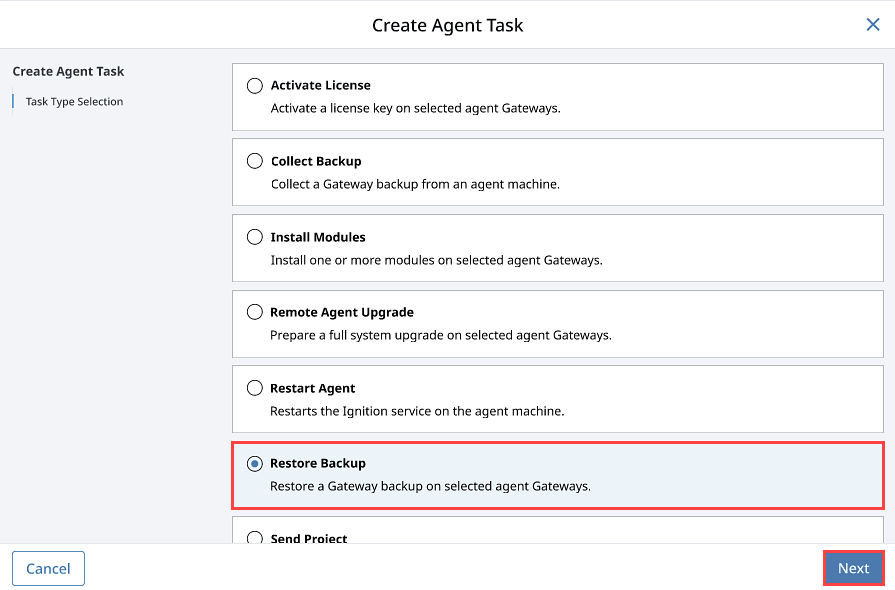
Select Restore Backup and click Next.
-
Schedule the Restore Backup task from any of the listed scheduling options. This example uses Execute Immediately. Click Next.
-
Select the Agent. Click Next.
-
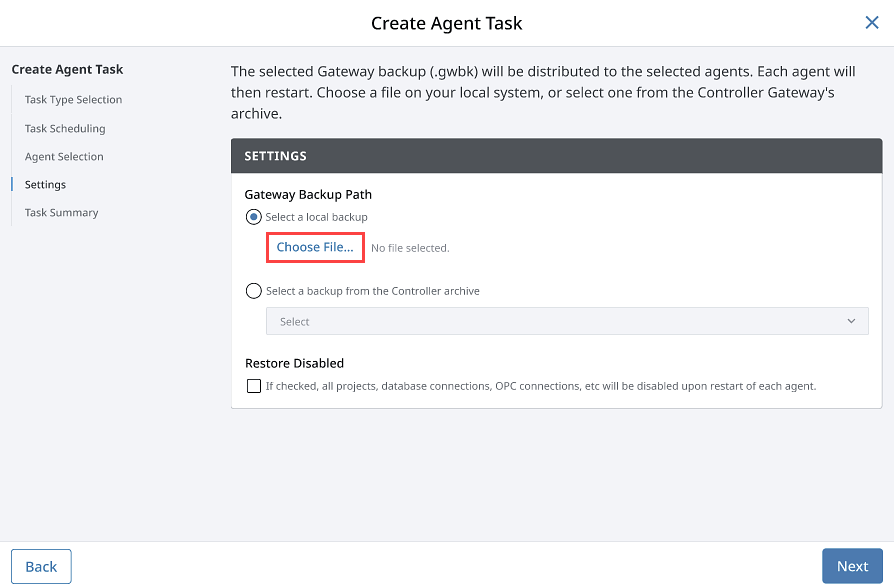
If your Archive Path was set to Manual when you created your controller, select Choose File and navigate to the folder on your computer to locate the Gateway Backup file. If you are unsure about your Archive Path, refer to your Controller Settings.
 note
noteYou can also restore a Gateway backup from the controller's archive by clicking the Select a backup from the Controller archive and selecting the .gwbk file you want to restore.
-
Once you choose the file, click Open. Click Next on the Restore Backup task.
-
Review the Task Summary and click Create Agent Task. Once the Restore Backup task completes, you will receive a successful message from the Gateway Task.
-
Go to your agent Gateway. It takes a few moments to bring up the Gateway. You will see a progress bar while the Gateway is starting up. Once it’s complete, you will see all your projects uploaded and ready to go.
You will not be able to restore Gateway backups from before Ignition 8.1 onto an 8.3 Gateway. To restore an 8.3 Gateway using an older Gateway backup, you will first need to upgrade the Gateway that the backup originates from to version 8.1, then restore the 8.1 Gateway backup onto your 8.3 Gateway.
Install Modules
This task allows you to install one or more modules on an agent. You may pass in the modules to install while creating the task, or choose from the archived modules. Modules are archived in the Collect Backup task.
As an example, suppose you accidentally uninstalled the Alarm Notification and OPC UA modules from your agent. Let's go ahead and reinstall them using the Install Modules task.
-
Go to the controller Gateway, and navigate to Network > Enterprise > Agent Tasks.
-
Click Create Agent Task.
-
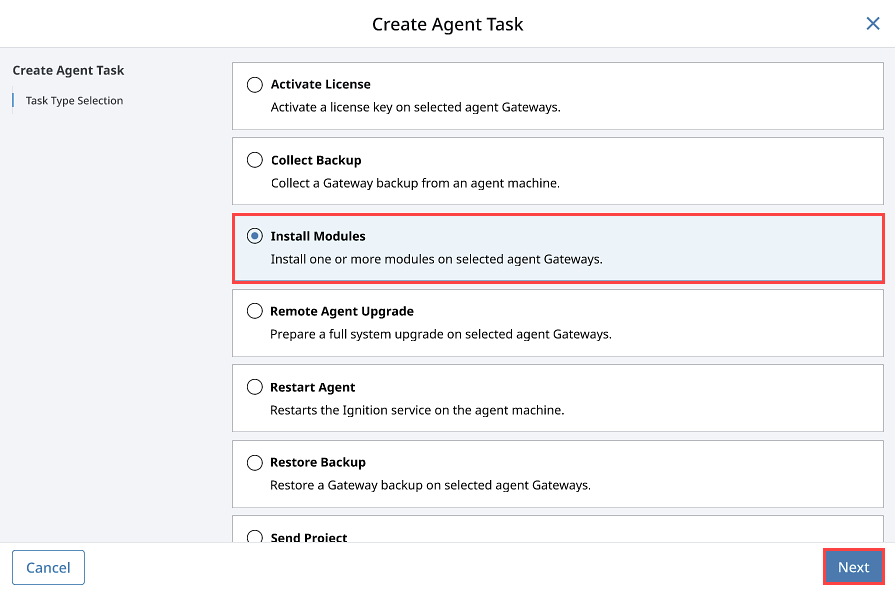
Select Install Modules and click Next.
-
Schedule the Install Modules task using one of the listed scheduling options. This example uses Execute Immediately. Click Next.
-
Select the Agent and click Next.
-
On the Select Modules form, click Add for the Alarm Notification and OPC UA modules. You will notice, that once you select a module, it shows up in the Selected Files list. You can choose as many modules as you need, and when you're finished, click Next.
-
Accept and Acknowledge the certificate and license terms by clicking Next as needed.
-
Review the Task Summary and click Create Agent Task. Once the Install Module task completes, you will get a successful message from the Gateway.
-
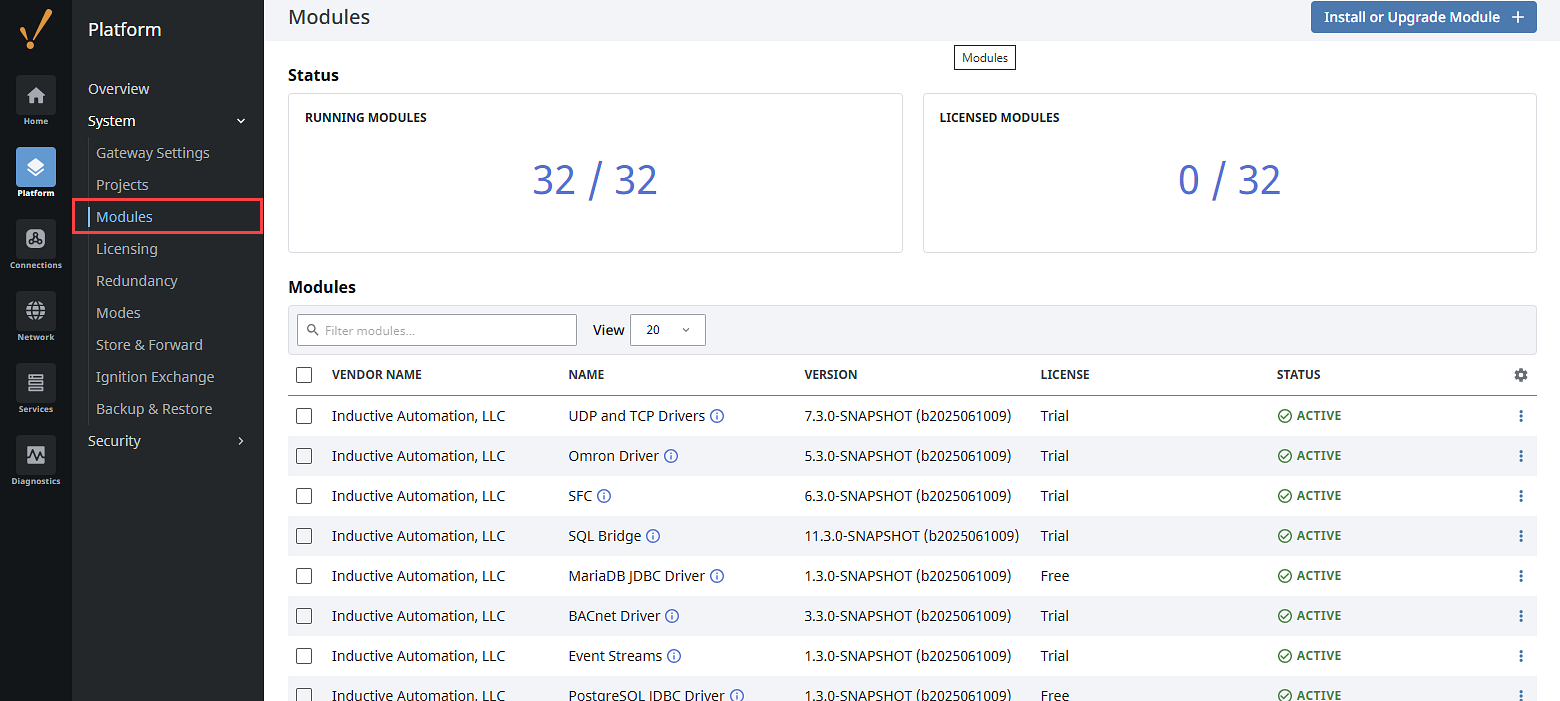
Go back to your Agent, and navigate to Platform > System > Modules to verify that both the Alarm Notification and OPC UA modules were installed and are running successfully.
Restart Agent
On the controller Gateway, let's create another Gateway Task to restart the agent. This task will stop the Ignition service on the agent and start it back up again.
-
Go to the controller Gateway, and navigate to Network > Enterprise > Agent Tasks.
-
Click Create Agent Task.
-
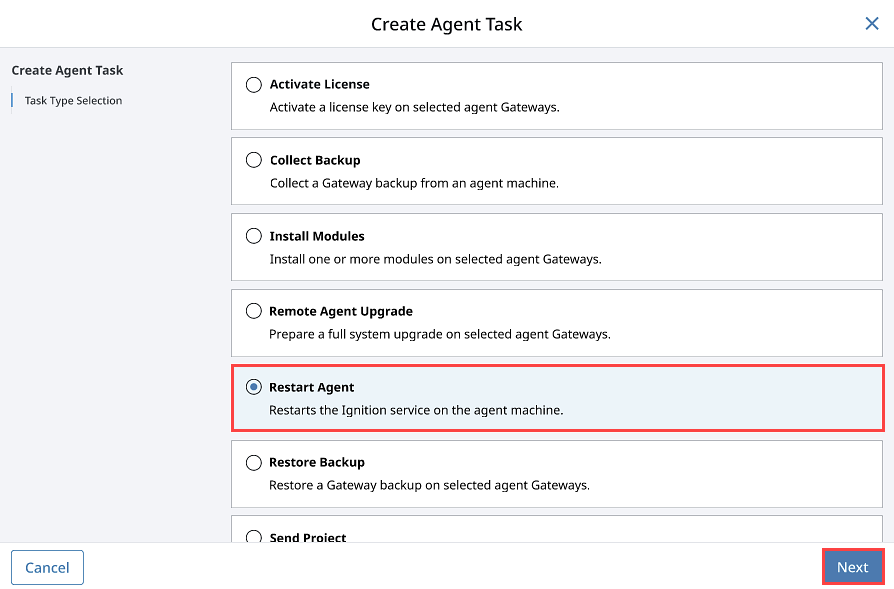
Select the Restart Agent and click Next.
-
Schedule the Restart Agent task to Execute Immediately and click Next.
-
Select the agent and click Next.
-
Review the Task Summary and click Create Agent Task. Once the Restart Agent task completes, you will receive a successful message from the Gateway Task.
-
Go to your agent Gateway. You will see a progress bar while the Gateway is starting up. This will take a few moments, and once this task completes, your agent will be up and running.