Agent Management
Maintaining Your Agents
There are a variety of tools available that allow you to manage certain parts of your agent Gateways that are not scheduled tasks. If your agent goes down, agent recovery makes it easy to get your agent back up and running again as quickly as possible, from backups that were taken from the controller Gateway. In addition, you can create configuration files that can automatically set up an agent when starting the Gateway instead of having to go through the agent configuration wizard. This makes it easy to set up multiple agents.
Agent Management
Once an agent is set up and connected, the Agents page on the controller Gateway lists the connected Agents with action options.
-
On the controller, go to the Network section of the Gateway Webpage.
-
Scroll down to Enterprise > Agents. You'll notice that each agent row is expandable with a three dots menu on the right side where you can select View Details, Restart, and Delete.
- View Details: Opens the agent Details panel, which displays the details shown on the main page as well as, the agent's edition, version, backups, installed modules, and project details.
- Restart: Creates a Gateway task that immediately restarts the agent Gateway. You will be asked to confirm the task before it will run.
- Delete: Removes the agent from the list, which prevents it from interacting with the controller. If the agent machine is still active, the agent will reappear on the list with a pending status.

Agent Groups
Agents can be sorted into groups that you create. This allows you to organize agent lists by location or agent function. Agent groups can also be selected in Gateway tasks. For example, you can create an agent group for a location that collects backups every night at 3AM. Any new agent that is added to the group will automatically be included when the Gateway tasks executes.
To create a group:
-
Navigate to the Network section on the Gateway Webpage.
-
Select Enterprise > Agents, and click the Agent Groups tab at the top of the page.
-
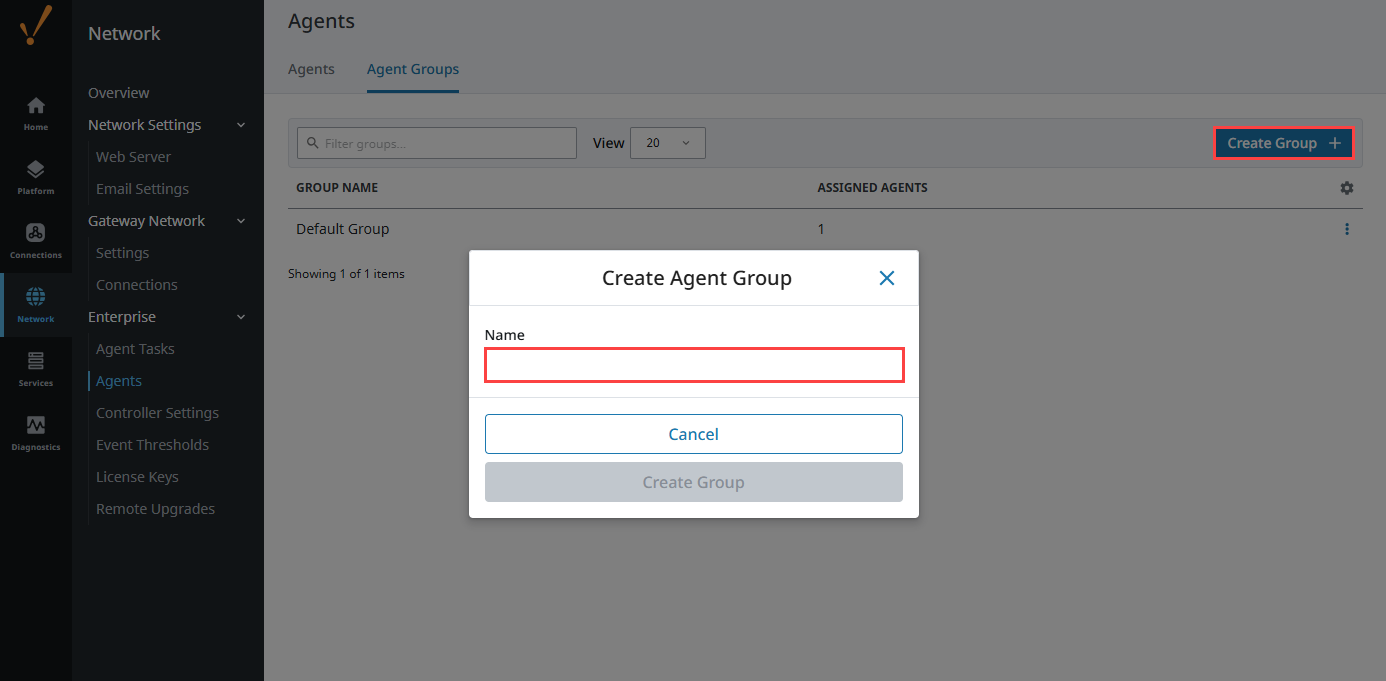
To edit and create agent groups, select Create Group + and enter a new group name.
-
Click Create Group.
To assign an agent to a group:
-
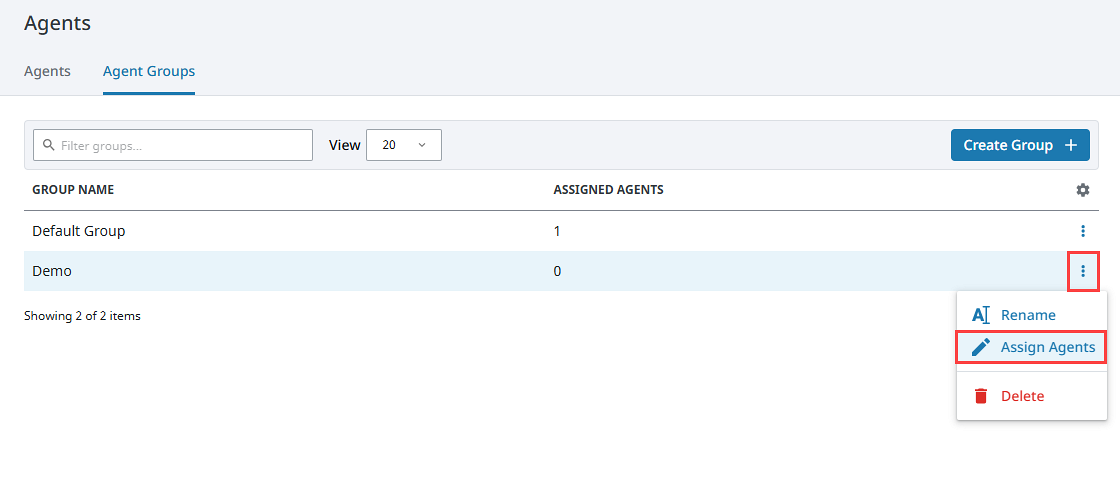
Expand the three dots menu for the agent group you want to edit and select Assign Agents.
-
Fill the checkbox next to the agent name, and select Save Changes.
To delete a group:
-
Expand the three dots menu for the agent group and select Delete.
-
Click Delete on the confirmation popup.
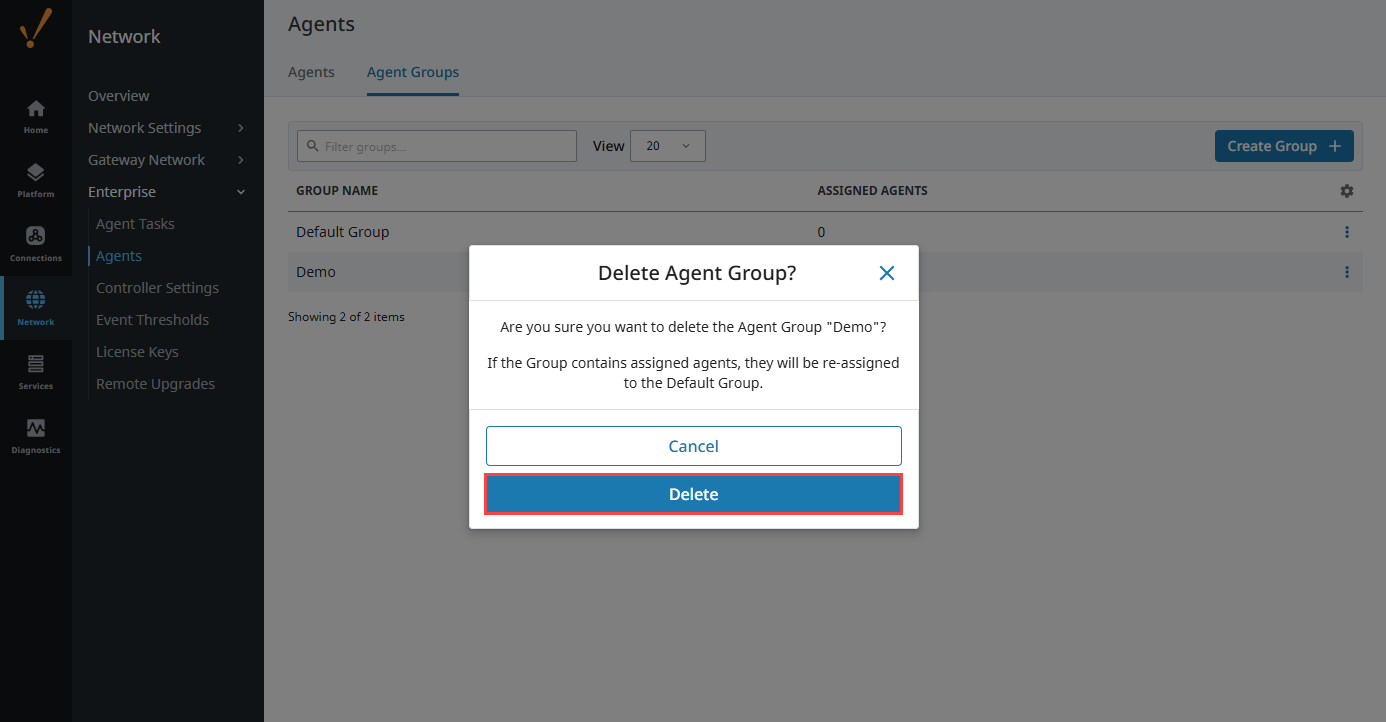
Note that if you delete a group that contains agents, the agents will be automatically reassigned to the Default Group.