Audit Log and Profiles
Ignition's built-in auditing system automatically records certain actions that occur in the system, such as a Tag writes or User Source authentication, into a SQL database table. Utilizing the system involves creating an Audit Profile, followed by enabling auditing in a project. Once both prerequisites have been met, the Gateway will automatically create a database table named AUDIT_EVENTS, and use the table to start tracking user actions.
The Remote Audit Log configuration option allows audit events to be automatically sent to a remote Gateway's Audit Log. The remote Gateway you plan to connect to must have a Audit Profile created. To learn more about sending audit events to a remote Gateway, refer to section Creating a Remote Gateway Audit Profile on this page.
You can use Audit Profiles for Gateway events and project events. See the Enabling Auditing for Gateway-Scoped Actions or the Enabling Auditing in a Project sections for more details.
Auditing Actions
For a list of actions that are recorded by an audit profile, see the Auditing Actions Reference page.
Create a Database Audit Profile
- Go to the Platform section of the Gateway Webpage.
- Select Security > Audit Profiles from the menu on the left. The Audit Profile Logs page is displayed.
- Click Create Audit Profile +.
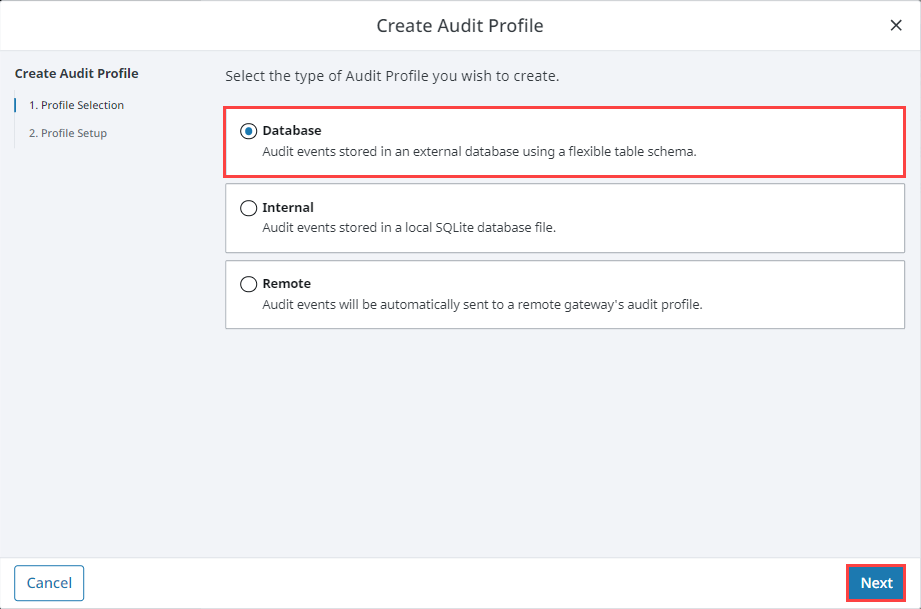
- Select Database and then Next.
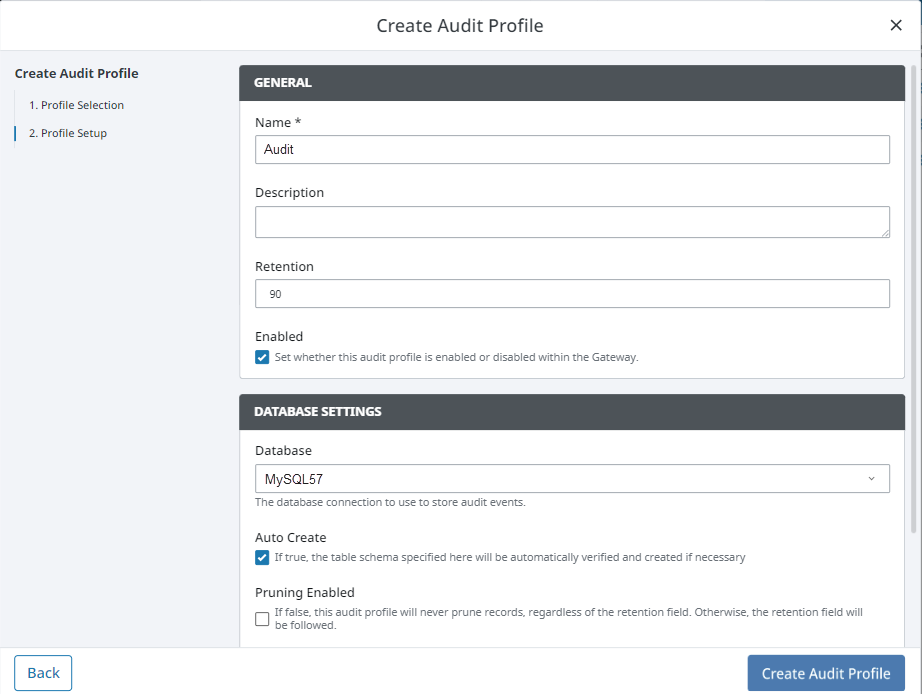
- Enter the Name of the Audit Log and Description if desired.
- In the Retention field, set a value in days for how long you want audit records kept. The default is 90 days.
- Under the Database Settings, select the Database where the table will be stored, leave the Auto Create box checked.
- Enter a desired title im the Table Name field.
- Click Create Audit Profile.
Once some changes have been made to a tag or a Database table, Ignition will begin recording.
Database Audit Profile Properties Table
Main
| Name | Description |
|---|---|
| Name | The default name, is the name of the Audit Profile. |
| Description | Description of the audit profile. Optional. |
| Retention | How long (in days) should audit records be kept? Values less than or equal to 0 will disable pruning. Default is 90 days. |
| Enabled | Enables/Disables the Audit Profile within the Gateway. Profiles are enabled by default. |
Database Settings
| Name | Description |
|---|---|
| Database | The database connection to use to store audit events. |
| Auto Create | If true (selected), the table schema specified here will be automatically verified and created if necessary. Default is true. |
| Pruning Enabled | If false, this audit profile will never prune records, regardless of the retention field. Otherwise, the retention field will be followed. Default is false. |
| Table Name | The name of the table to store audit events. Default is AUDIT_EVENTS. |
Create an Internal Audit Profile
The Internal Audit Profile option allows an Ignition Gateway to store audit records without an external SQL database.
- Go to the Platform section of the Gateway Webpage.
- Scroll down to the Security > Audit Profiles from the menu on the left. The Audit Profile Logs page is displayed.
- Click Create Audit Profile +.
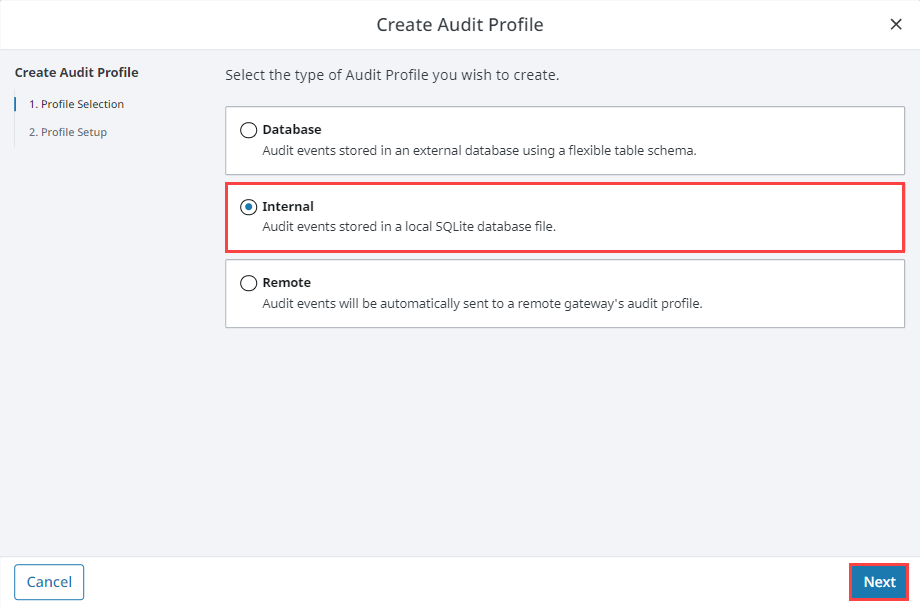
- Select Internal.
- Enter a name for the Audit Log.
- In the Retention field, set a value in days for how long you want audit records kept. The default is 90 days.
- Click Create Audit Profile.
Internal Audit Profile Properties Table
| Name | Description |
|---|---|
| Name | The default name, is the name of the Audit Profile. |
| Description | Description of the audit profile. Optional. |
| Retention | Value in days for how long you want audit records kept. Default is 90 days. |
| Enabled | Enables/Disables the Audit Profile within the Gateway. Profiles are enabled by default. |
Creating a Remote Gateway Audit Profile
Just like configuring audit events to be logged into an external database, it is done from the Gateway Webpage, Platform > Security > Audit Profiles.
Due to serialization updates, 8.3 Gateways will not be able to store Audit Log data to a remote 8.1 Gateway. It is recommended to first upgrade the central server hosting data to 8.3 before upgrading any remote 8.1 Gateways. See the 8.3 Upgrade Guide for more information.
-
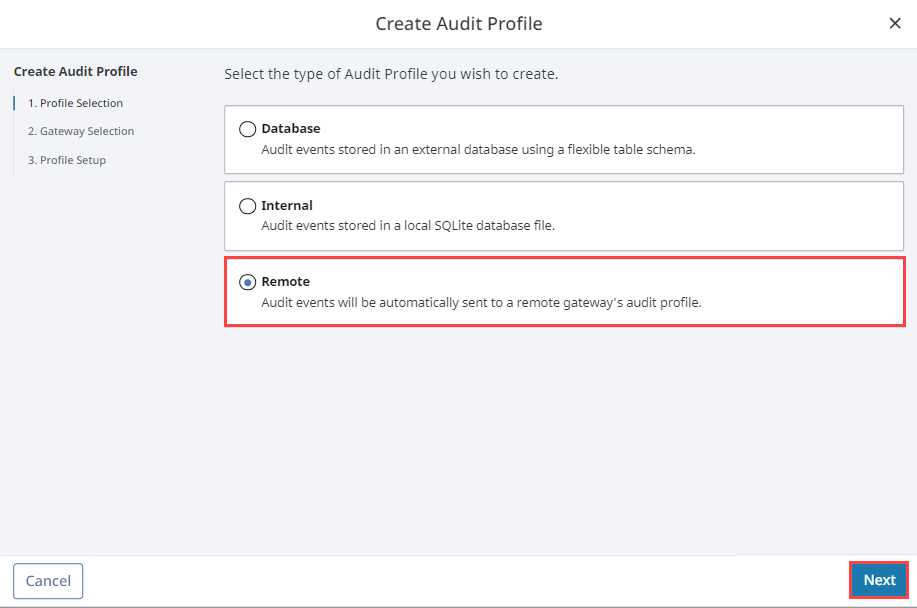
To have your audit events automatically sent to a remote Gateway's audit profile, select Remote, and click Next.
-
A list of known Gateways will be displayed. If you don't see a Gateway that you expected to see, check your Gateway Network settings to verify that the connections are valid. You also have the option to specify a Gateway manually. Once you've selected a valid Gateway, click Next.
-
If an Audit profile exists, the fields will auto-populate. The name of the Gateway will appear in the Name field prefaced with the Audit Profile name (i.e., Ignition_Test_Auditing), as shown in the following example. Click Create Audit Profile.
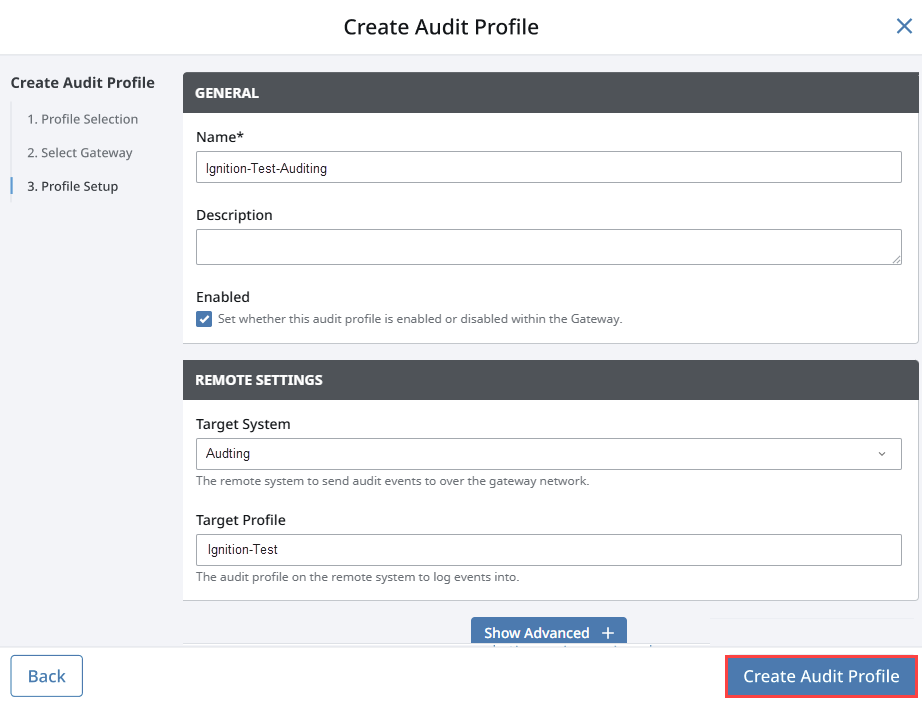
You will now receive a successful message stating your new Audit Profile was created.
Remote Gateway Audit Profile Properties Table
Main
| Name | Description |
|---|---|
| Name | The default name, is the name of the Remote Gateway and Audit Profile. |
| Description | Description of the audit profile. Optional. |
| Enabled | By default, the journal profile is enabled. |
Remote Settings
| Name | Description |
|---|---|
| Target System | The remote system to send audit events to over the Gateway network. |
| Target Profile | The audit profile on the remote system to log events into. |
Advanced
| Name | Description |
|---|---|
| Use Store and Forward | If enabled, audit events will be stored through the Store and Forward system. If not enabled, they will be stored directly against the remote Gateway. Default is true. |
| Max Group Size | The maximum number of data points that can be sent per request. This value is used in conjunction with the Store and Forward setting to dictate how much data is sent at once. The default value of 0 means unlimited data points per request. |
Enabling Auditing for Gateway-Scoped Actions
After setting up an Audit Profile, you can have the Audit Log record Gateway events.
-
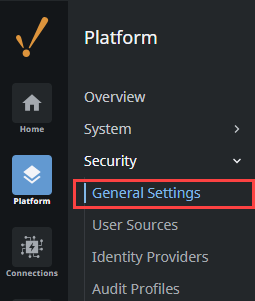
Navigate to the Gateway General Security Settings page. This is located under Platform > Security > General Settings.
-
Set the Gateway Audit Profile setting to the audit profile you want to record with, then save your settings.
A confirmation banner will now appear at the top of the page and your Gateway will begin recording events to the specified audit profile.
![]()
Enabling Auditing in a Project
-
Go to the Designer, open the project that you want to enable auditing on, then go to Project > Properties.
-
Go to the General section, select the Enable Auditing check box, and select your Audit Profile from the drop-down menu. The audit profile is used to record audit actions for your project. If the new audit profile does not show up, click Refresh.
-
Click OK.
-
Save your project.

Viewing Information in an Audit Log
There are a few ways to view audit information: using a Table component, interface on the Gateway, or the Database Query Browser. Here is one example of viewing an Audit Log using the Database Query Browser.
-
In the Designer, go to Tools > Database Query Browser.
-
Under the Schema area, double click on a table, and it will expand the query in the Database Query Browser area.
-
Click Execute. All the Audit Log data will be displayed in the Resultset1 area.

Audit Log Table Descriptions
A description of the columns used by the Audit Log's database table can be found on the Ignition Database Table Reference page.