Download and Upload Files
Downloading and uploading files from a Perspective session typically involves storing and retrieving files from a database. A table will store all of the available files, and each row of the table represents a new file. This allows for long term storage that is accessible from any project.
Query Examples
The examples on this page show suggested methods of uploading files from a session, as well as how to download them, using the File Upload component. Before following along with the examples on this page, you'll need to create a table in the database that will hold the files. This process can vary by database, along with the column datatypes.
For the sake of brevity, the example assumes the files will be stored and retrieved from a SQL Server database. You may need to modify the query examples on this page if using a different database. The files database table used by these examples contains the following columns:
- id - integer, primary key, identity
- filename - varchar (255)
- filedata - varbinary (MAX)
Uploading a File
-
Add the File Upload component to a view. The File Upload component has everything we need to upload a file into the database.
-
Right-click on the File Upload component and select Configure Events.

-
Select the onFileReceived event and click the Add
 icon to add a script action to it.
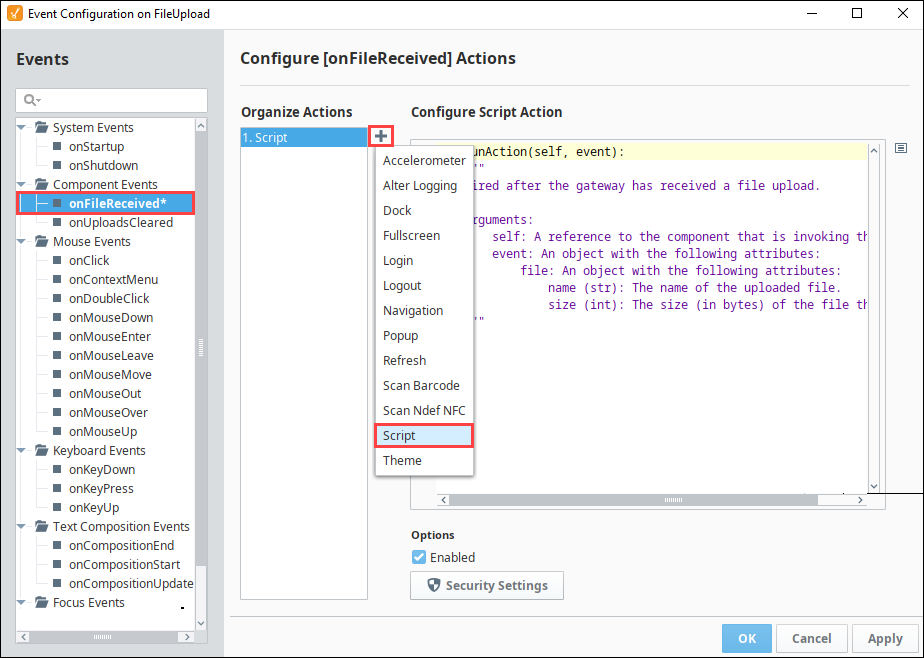
-
Add the following script to the script action:
# Grab the file name and data
filename = event.file.name
filedata = event.file.getBytes()

# Use a query to insert the file
query = "INSERT INTO files (filename, filedata) VALUES(?, CONVERT(varbinary(MAX), ?))"
args = [filename, filedata]
db = "myDatabase"
system.db.runPrepUpdate(query, args, db)noteAs mentioned above, the query will vary based on the database used.
-
Click OK.
You can test out the upload functionality by dragging a file onto the File Upload component, either from a session or the Designer while it's in preview mode. After the file is uploaded, a successful upload message will appear and your file will be present in the created database table.
Downloading a File
To download a file that is stored in the database in Perspective, we will want to use the system.perspective.download function. This will allow us to download the file data that we receive from the database.
This example will show you how to do several things:
- Create a named query, that will return the contents of our file database table.
- Create a table component, that shows a listing of potential files to download, using the Named Query above in conjunction with a Named Query binding.
- Add a Button component that will allow users to download a file, assuming one of the rows in the table component is selected.
To download a file:
-
Create a Named Query that we will use to pull a list of files out of the database table. We're using a Named Query here since a Named Query binding is the easiest way to run a query when the view loads.
The query should pull out the id of the row which we can use to later query the data, as well as the filename which the user can use to identify the file.
SELECT id, filename FROM Files -
On a view, add a Table component. This will display a list of all files we currently have in the database table.
-
Set up a binding on the Table's data property. The binding should be a Query type, and it should use the query that we just made. We want to return the data in a JSON format, and you can enable polling so that it automatically updates if new files get uploaded.

-
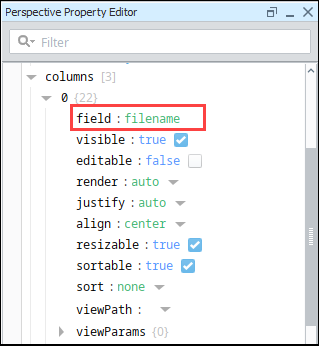
On the Table's columns property, add an array element. Set columns.0.field to the name of the column that holds the filename. This will display only the filename column, as the id column does not need to be visible.
-
Add a Button to the view. This button will be used to download the file after the user has made a selection. However, we also want to make sure the user can't press the button unless a row in the table is selected.
-
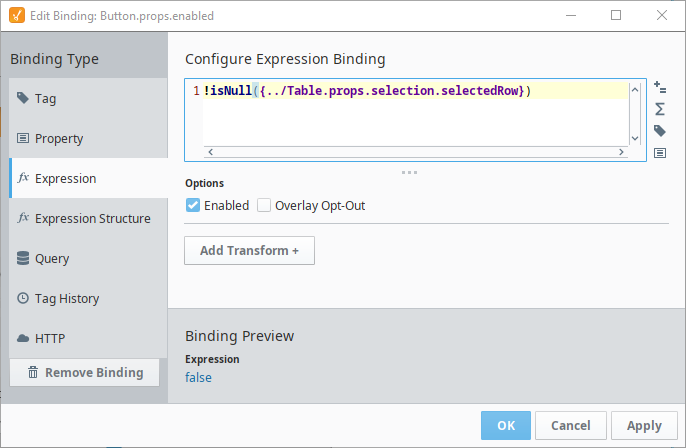
On the Button's enabled property, configure a binding. The binding type should be an expression. The expression should check to see if the Table's selected row is null, and invert it.
!isNull({../Table.props.selection.selectedRow})This will disable the component if no row is selected, to prevent the user from trying to download without making a selection.
-
Right-click on the Button and go to Configure Events.
-
Select the onActionPerformed event, click the Add
icon to add a script action to it. -
Add the following script to the script action:
# Grab the selected row
selectedRow = self.getSibling("Table").props.selection.selectedRow

# Use the selected row to grab the id of the file at that row
id = self.getSibling("Table").props.data[selectedRow].id

# Use the id to grab the file data out of the database, along with its corresponding name.
query = "SELECT filename, filedata FROM Files WHERE id = ?"
args = [id]
data = system.db.runPrepQuery(query, args)

# Pull out the file name and data
filename = data[0][0]
filedata = data[0][1]

# Download the file
system.perspective.download(filename, filedata) -
Test the script by selecting a row in the table and clicking on the button while in Preview mode.