Building a Simple Web Server
This page demonstrates how to build and test a simple web server using the Web Dev module. You’ll create a small test environment that responds to basic HTTP GET and POST requests. The examples will use Button components in Perspective to send requests to Python Resources in Web Dev, but any external client can be used to communicate with the same endpoints.
Set Up the Web Dev Environment
The Web Dev environment used in the examples below requires a folder to store your resources.
-
In the Designer, right-click Web Dev in the Project Browser, then select New Folder.

-
Name the folder testServer, then click Create Folder.
The folder name becomes part of the URL path for your resources. For example:
http://localhost:8088/system/webdev/MyProject/{testServer}/resourceName
HTTP Post Example
This example demonstrates how Ignition can receive data from an external source by using a Button component in Perspective to send JSON data through an httpPost command to a Python Resource in Web Dev, which then receives and processes the POST request.
-
Right-click the testServer folder, then select New Python Resource.

-
Name the resource postjson and click Create Resource.

-
From the HTTP Method dropdown, select doPost, and check Enabled.

-
Paste the following code to accept JSON data, print it to the Gateway logs, and return a simple HTML response.
postjson Python Resource (Web Dev Section)# Accept JSON data from a POST request.
# Expecting 'names' and 'values' lists of equal length.
data = request['data']
names = data['names']
values = data['values']
system.util.getLogger("WebDev").infof("Names: %s | Values: %s", names, values)
html = "<html><body>"
for i in range(len(names)):
html += "%s: %s<br>" % (names[i], values[i])
html += "</body></html>"
return {'html': html} -
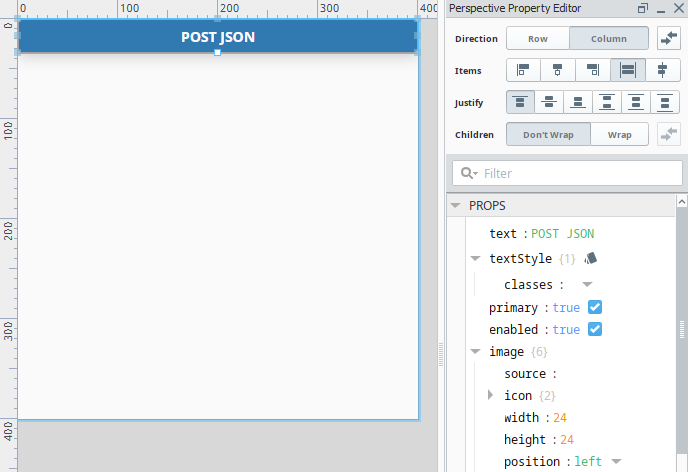
Open a Perspective view and add a Button component. In this example, we named the button POST JSON.
-
With the Button selected, right-click and select Configure Events.
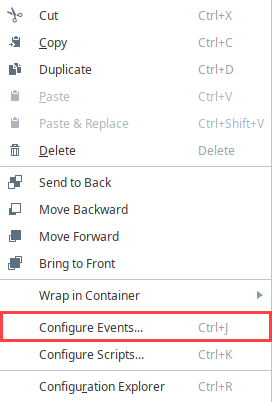
-
Under Mouse Events, select onClick, then add a Script action. Paste the following code to send a POST request to your new endpoint.
# Post data to the web service in JSON format.
# This allows you to use the 'data' object in the Python Resource.

projectName = "MyProject"
folderName = "testServer"
doPostName = "postjson"
url = "http://localhost:8088/system/webdev/%s/%s/%s" % (projectName, folderName, doPostName)

params = {
    "names": ["String", "Integer"],
    "values": ["Hello World", 42]
}

jsonParams = system.util.jsonEncode(params)

client = system.net.httpClient()
response = client.post(
    url,
    data=jsonParams,
    headers={"Content-Type": "application/json"}
)

system.perspective.print(response)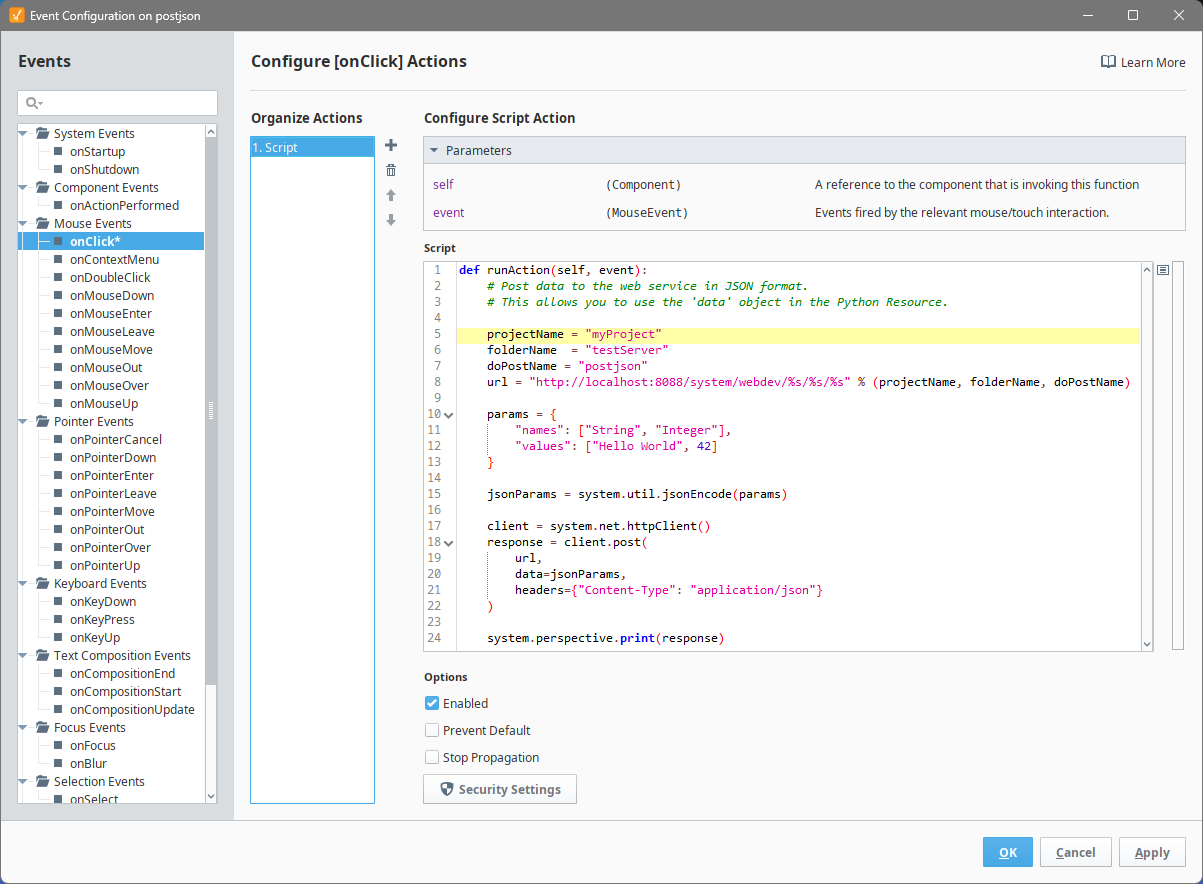
-
Save the project.
-
Open the Perspective Session and click the Button to send the POST request. The printed response appears in the Session Console, and the Gateway logs show the formatted data.
The Gateway can now receive HTTP POST requests at: http://localhost:8088/system/webdev/MyProject/testServer/postjson
HTTP Get Example
This example shows how to respond to a simple HTTP GET request using Web Dev by creating a Python Resource that returns an HTML message, which can be viewed directly in a browser or triggered from a Perspective Event Script.
-
Right-click the testServer folder, then select New Python Resource.
-
Name the resource getexample, then click Create Resource.

-
From the HTTP Method dropdown, select doGet, and check Enabled.

-
Paste the following code to return a simple HTML message confirming that the Gateway received your GET request.
getexample Python Resource (Web Dev Section)# Return a simple HTML response to confirm a GET request.
html = "<html><body><h2>Hello from Ignition Web Dev!</h2></body></html>"
return {'html': html} -
Save the resource, then open a web browser and navigate to:
http://localhost:8088/system/webdev/MyProject/testServer/getexampleThe HTML message appears in the browser window.
-
To test the endpoint, open a Perspective view and add a Button component. In this example, we named the Button GET EXAMPLE.

-
With the Button selected, right-click and select Configure Events.
-
Under Mouse Events, select onClick, then add a Script action. Paste the following code to send a GET request to your endpoint and print the response text in the Session Console.
projectName = "MyProject"
folderName = "testServer"
doGetName = "getexample"
url = "http://localhost:8088/system/webdev/%s/%s/%s" % (projectName, folderName, doGetName)

client = system.net.httpClient()
response = client.get(url)
system.perspective.print(response) -
Save the project.
-
Open the Perspective Session and click the Button. The Gateway's response appears in the Session Console, confirming that the Web Dev resource successfully handles HTTP GET requests.
The Gateway can now respond to HTTP GET requests at: http://localhost:8088/system/webdev/myProject/testServer/getexample