Ignition Exchange
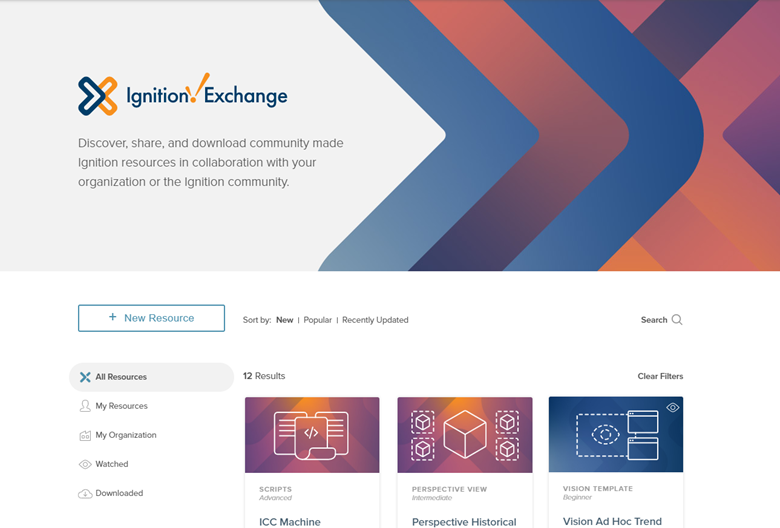
In the Ignition Exchange you can access resources, templates, and tools that you can use in your own Ignition projects. The Ignition Exchange offers a wide variety of ways to store and access these resources. Ignition assets designed by others in various industries can be shared through the Exchange. This collection encompasses anything that can be built inside of Ignition including screens, graphics, templates, views, reports, alarm pipelines, scripting functions, database backups, projects, full systems, and Ignition demos.
As an individual, you can upload, browse, or download your own tools. If you’d like to keep these tools private, you can store them for your own use, or you can make the resource public, so anyone can access and use it.
Organizations or teams can use the Exchange to store and access private resources they want to make available to a select user group. This gives them the opportunity to collaborate and access company templates, and use them across corporate projects.
Access the Exchange
You can access the Ignition Exchange in several ways:
-
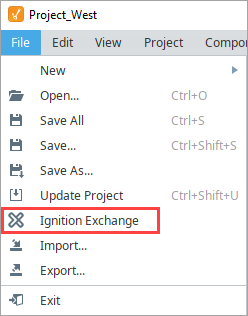
Within the Designer, select File > Ignition Exchange.
-
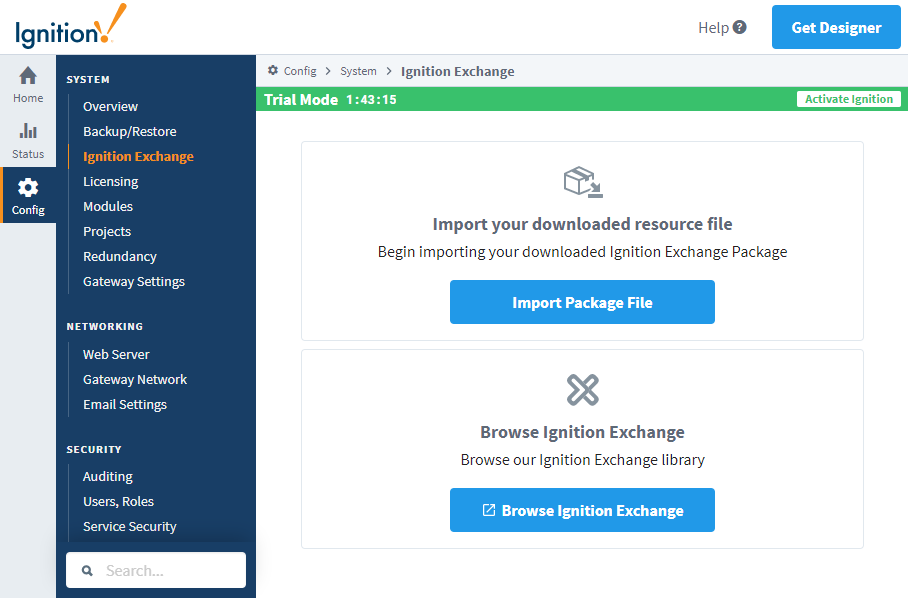
Within the Gateway webpage, click on Config > Ignition Exchange. Then click Browse Ignition Exchange.
Import an Ignition Exchange Package from the Gateway
When you import a project from an exported file in the Gateway, it will be merged into your existing Gateway. To import a downloaded resource file:
-
Go to the Gateway, and click Config > Ignition Exchange.
-
Click on Import Package File.
-
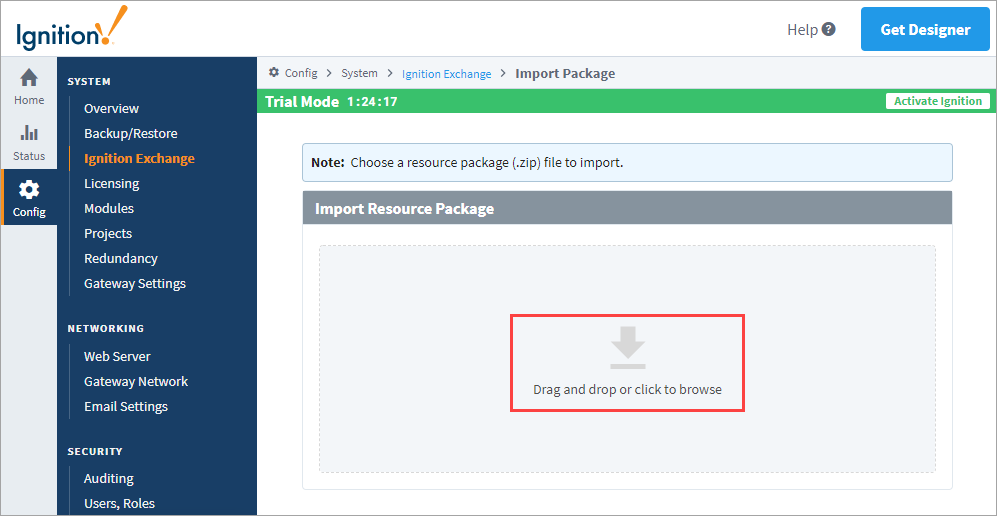
Drag and drop your resource package file, or click to browse for the file you want to import and click Open.
-
The Gateway will display a confirmation message if the package is valid. It will then display a README file with instructions. Click Next.
-
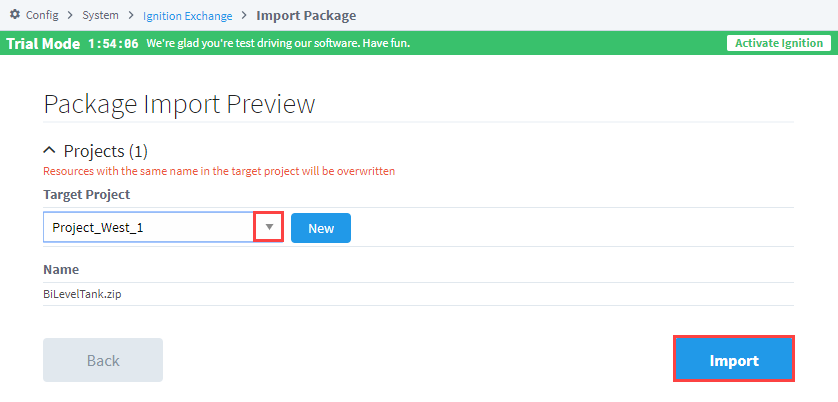
Use the down arrow in the Target Project box to choose a project. Then click Import.
cautionResources with the same name in the target project will be overwritten.
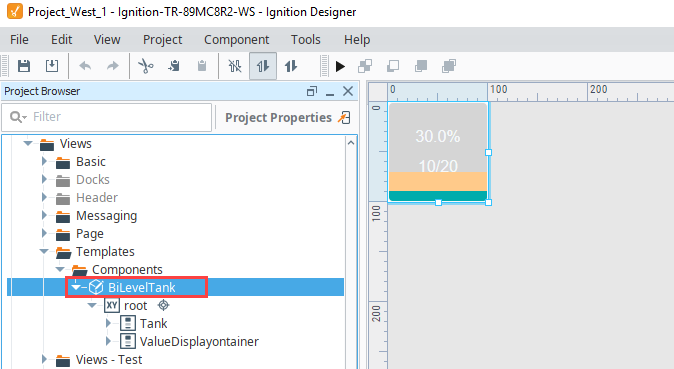
A confirmation message is displayed if the package was successfully imported. You can now go to your project in the Designer and see the new resource.
Import an Ignition Exchange Project Package from the Designer
In this example, we're going to import the Simple Light Stack project that we already downloaded from Ignition Exchange. Note that we also extracted the initial .zip file that was downloaded. This project contains a Perspective view with a light stack graphic. To import this view into a project that is open in the Designer, do the following.
-
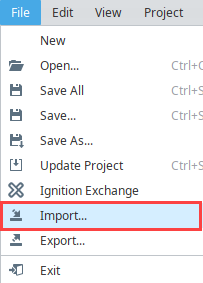
In the Designer, click File > Import.
-
Navigate to the project file (
.projor.zip) you want to import, then click Open.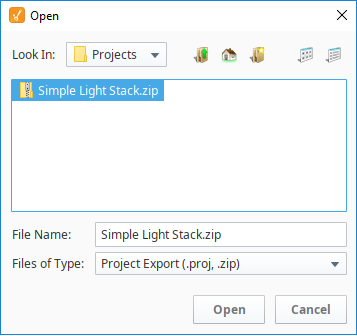
-
In the Import popup, select the resources that you want to import from the project. Click Import.

The view is now part of the current project.

Upload a Resource to Ignition Exchange
-
Use your credentials to log into your account. If you do not have an account, you can sign up at https://account.inductiveautomation.com/.
-
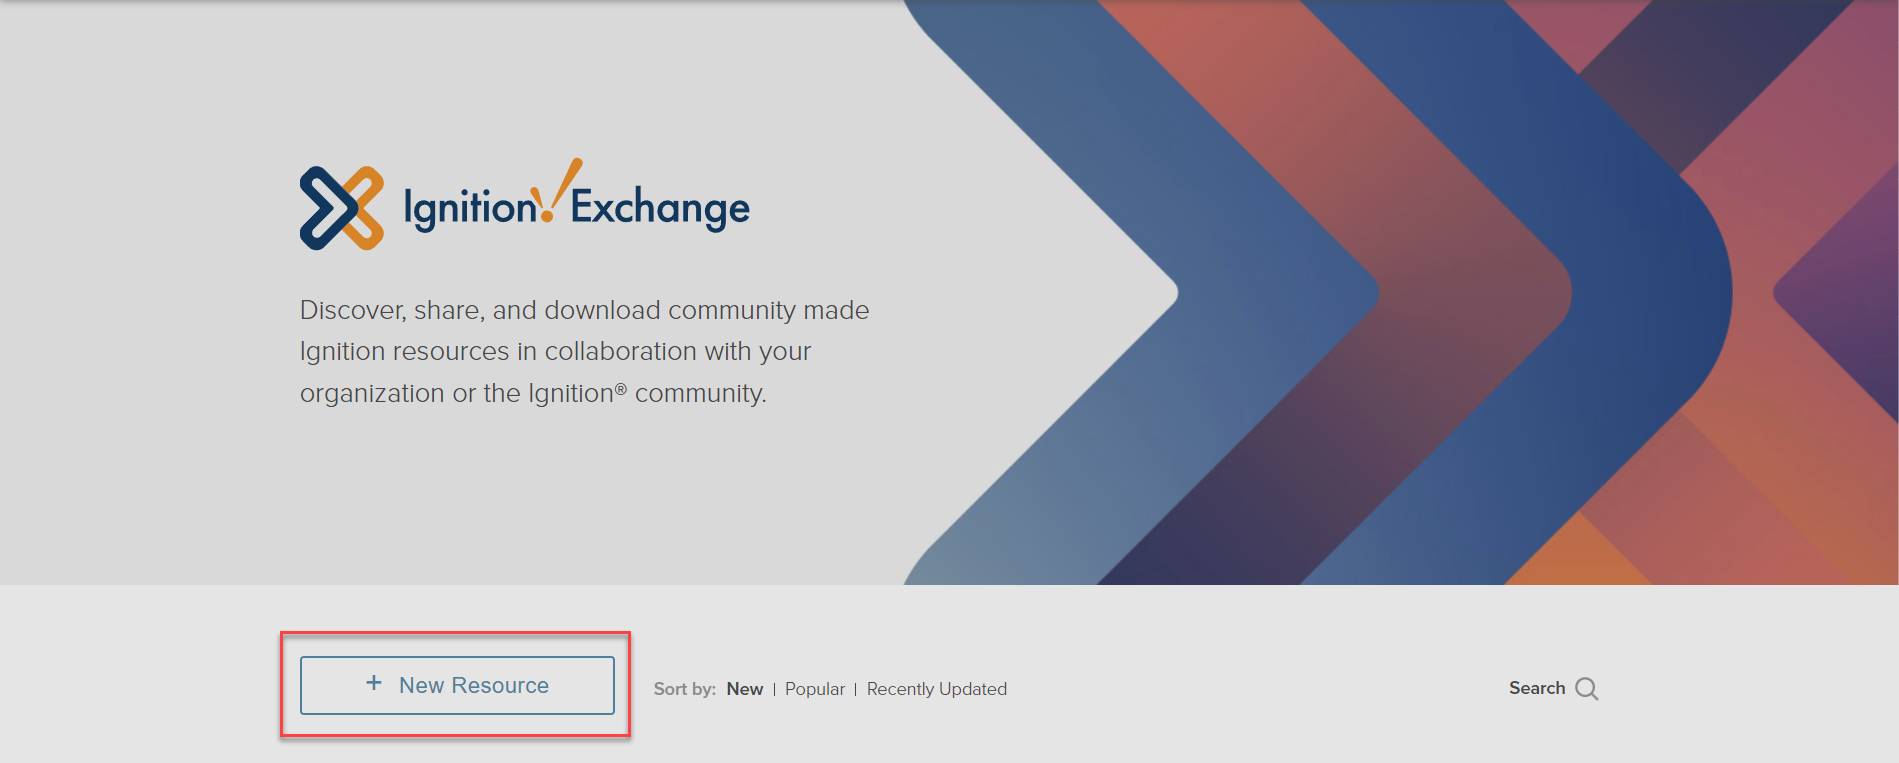
Click on + New Resource to open a popup that will start the resource upload draft.
noteThe + New Resource option will only appear once signed in.
-
Fill out the Overview tab based on your resource requirements. The following table shows the description for each section of the Overview:
Section Description Visibility Choose how your resource should appear on the Exchange. Title Create an easily identifiable title for your resource. Organization resources must have a unique title. Tagline Create a short but descriptive tagline to help identify your resource. Description Create a detailed description of your resource. Include information like how you envision it being used, what types of people might benefit from this package, any relevant industries, etc. Resource Type Choose a primary resource type that best describes your resource. Skill Level Choose a skill level that best describes the complexity of installation and use. Background Image (optional) Customize the background of your resource with a colorful design. Category Resources are displayed by category. You can select up to three. Contact the Developer (optional) This feature allows contributors to contact you via email directly from the resource page. Tags (optional) Tags make your resource more searchable. You can create up to 10 tags. Images & Screenshots (optional) Choose any additional images that showcase your resource in use. Be sure to follow the Exchange Guidelines. -
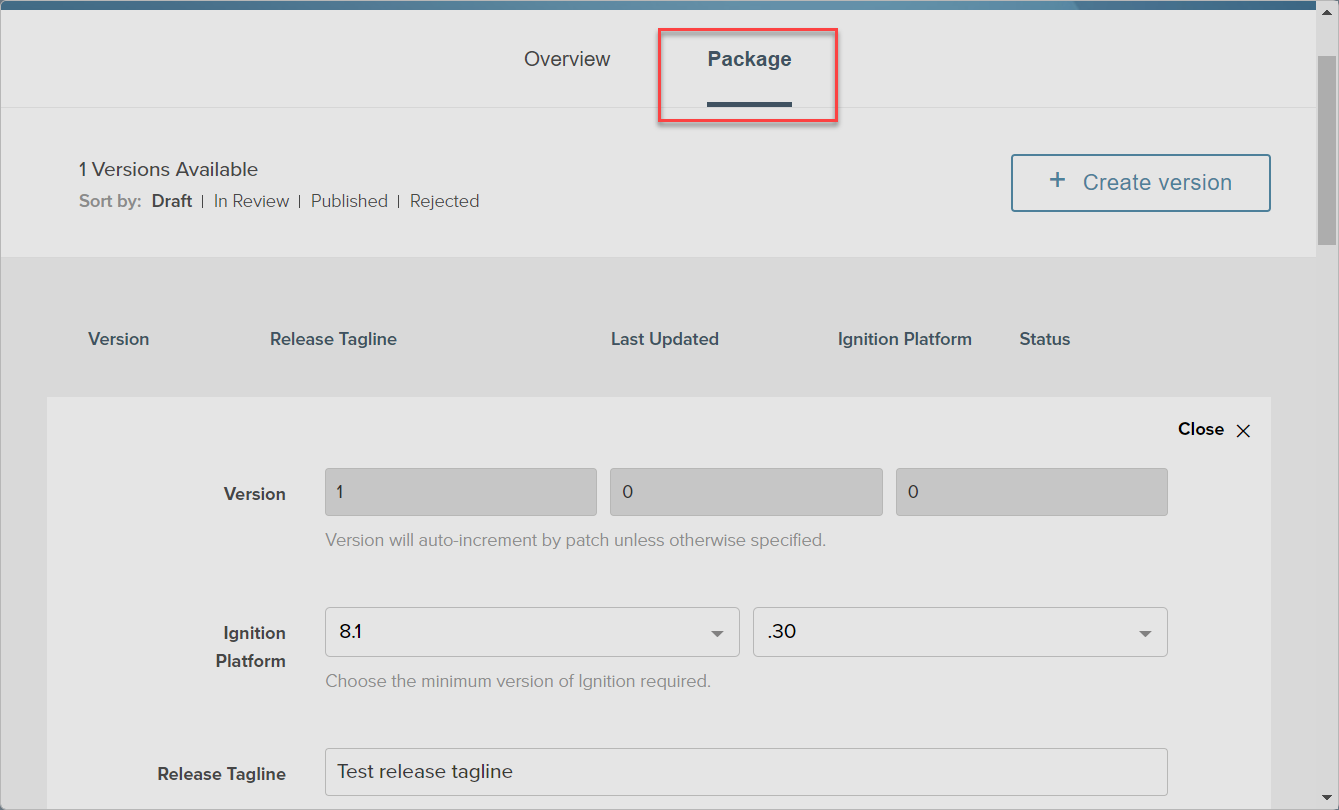
Click Save & Continue when finished. This will take you to the Package tab.
-
Fill out the Package tab based on your resource requirements. The following table shows the description for each section of the Package:
Section Description Version Version will auto-increment by patch unless otherwise specified. Ignition Platform Choose the minimum version of Ignition required. Release Tagline Create a short but descriptive tagline to help identify what changes were made in this version. Release Notes List detailed release notes explaining what changed in this version. Think about what improvements were made and how they will impact the resource. Required Modules (optional) Choose any modules that are required when using this resource. Maker Edition (optional) Let people know this resource is Maker Edition compatible. Note: This option is unavailable for resources requiring unsupported Maker Edition modules. Learn more about Ignition Maker Edition™. Other Requirements (optional) List any other external or custom requirements as separate line items. Package Files Choose a package file (up to 10mb) to upload.
Note: Uploaded files will be packaged into a .zip format. A README file with your documentation will be created and added to the package. -
Review your resource information and then click Publish to complete the resource upload.
noteUse the Update option if you are not ready to publish yet or if you need to revise your published resource.
Your resource will be submitted to Ignition Exchange for a review process before becoming available to the community. The review process may take up to a few weeks and only resources available to the public will be reviewed. Make sure to adhere to the guidelines and provide accurate details to ensure a successful upload.
Restore a Gateway Backup from Ignition Exchange
Ignition Exchange can also have Gateway backup files as resources. After you've downloaded the file from Ignition Exchange, follow the steps for a Gateway Restore in Gateway Backup and Restore.
When you perform a Gateway Restore, ALL of the server's current configuration will be permanently lost. Restoring a Gateway backup overwrites all of the existing settings including your projects. There is no merge option for a Gateway backup. We recommend you always make a backup of the existing server immediately before performing a Gateway Restore.