Navigation - Tree View
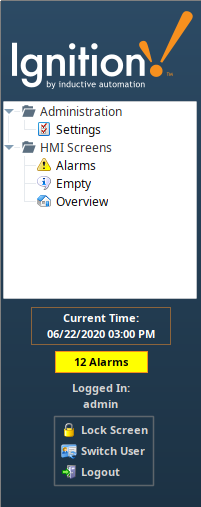
The Tree View navigation strategy is excellent for large project structures. It uses a typical navigation strategy again with a docked west window that contains a Tree View to navigate around to various areas. Users can double click on an item in the tree view and it will swap out one main window for another. The list is fairly compact, and can contain folders, helping you to group similar windows just like you would in the project browser.
Tree View Navigation Example
In this example, we are using the Tree View Nav project template which is set up when the project is created. By default, Tree View navigation comes with several default folders to help get you started. This simple example adds one new main window.
-
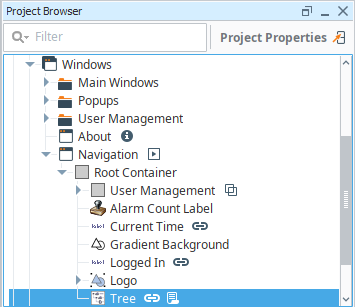
Once you create your project and set the Tree View as your navigation strategy, open the Project Browser, and expand the Main Windows folder. Click the Navigation folder to open the skeleton project, then select the Tree property.
-
From Property Editor, find the Items property and click on the Dataset Viewer
 icon.
icon.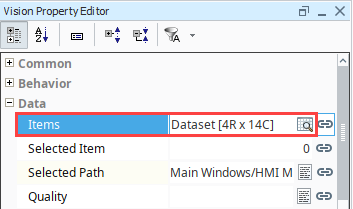
-
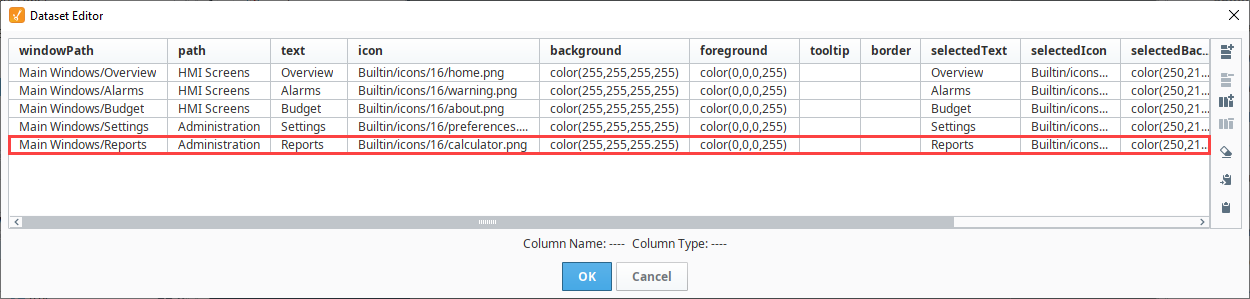
This brings up a dataset editor. You will see a number of columns that identify how each tree view item is displayed. Each row corresponds to a node in the tree view. The windowPath column is the window that we want to navigate to. The path is the folder that the window will display in the Tree View.
noteThis step assumes you already have your main windows created in your Project Browser.
-
Let's add a new main window under Administration. To add a new Main Window (i.e., Reports) we first need to add a row. Click the Add Row icon
 and populate the fields manually using the data from the previous row, or you can also copy the entire dataset into a notepad where you can manually manipulate the data to add a row, and then paste it back into the dataset editor. Click OK.caution
Do not use the Tree View Customizer to edit any of your data. Use only the Dataset Editor, otherwise it will overwrite that item's dataset.
-
You can then add a script that will use the newly added windowPath to open the correct window when a user double clicks on a node. Right click on the Tree View component and select Scripting.
-
Select the mouseClicked event handler, and add the following script to the Script Editor tab.
mouseClicked code# If the user performs a double click, open the appropriate window
if event.clickCount == 2:
row = event.source.selectedItem
data = event.source.data
if row != -1:
# Grab the window path value out of the tree view's items dataset
windowPath = data.getValueAt(row, "windowPath")
system.nav.swapTo(windowPath)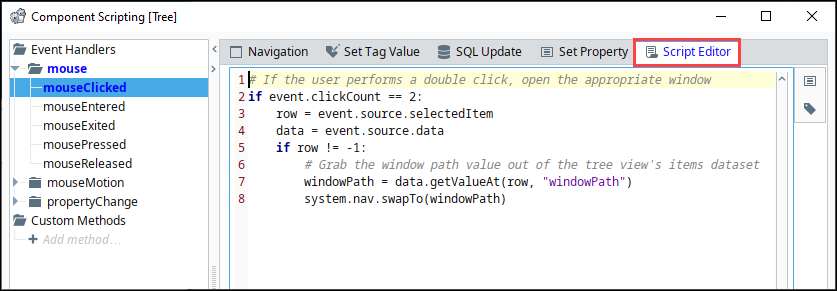
-
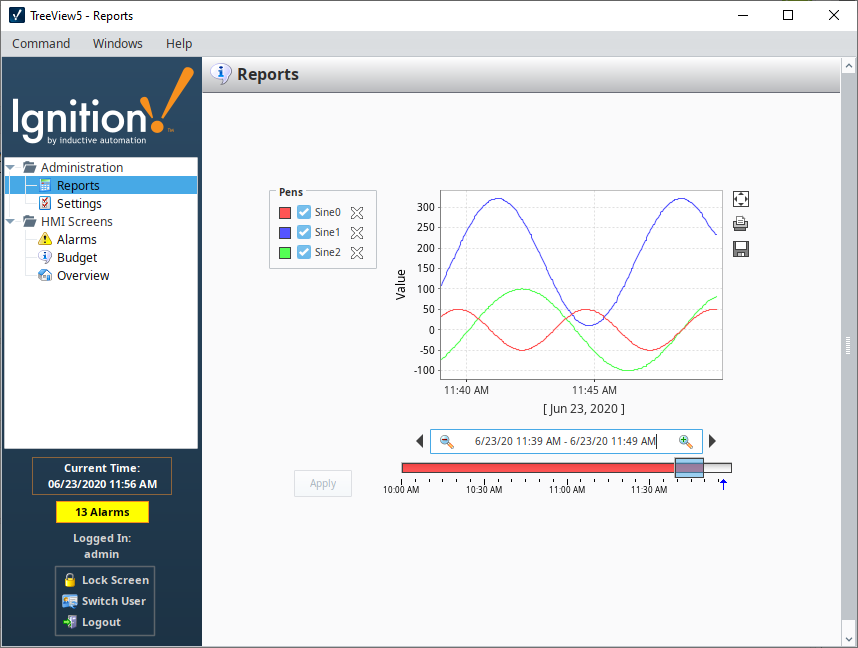
Save your project and launch the Vision Client and test out the Tree View navigation.