AMI Access Instructions - AWS
Prerequisites
Before launching your instance, you will need to configure the instance's network settings and add an inbound security group rule:
-
Under Network Settings, click Edit.
-
Verify that you are using the correct VPC and Subnet.
-
Enable Auto-assign public IP.
-
Select Create security group.
-
Click Add security group rule.
-
Set the Type to HTTP. This will expose port
80, one of the default Gateway ports.Default PortsDefault ports for accessing the Ignition Cloud Gateway are located at ports
80and443. -
Configure the Source type to specify which IP addresses can access this port.
Gateway Access
Once you have configured and launched your instance, you can access and commission your new Gateway from the EC2 Dashboard > Instances:
-
Select the Ignition Cloud Edition instance.
-
Under the Details tab, locate the instance's Public IPv4 address.

-
Copy the address.
-
In a new tab, paste the address and specify port
80:54.245.215.77:80 -
Hit Enter.
-
When prompted, choose the username and password for your admin user.
-
Click Finish Setup. You will now be redirected to the Cloud Edition Gateway.
Now that you've accessed your Cloud Gateway, you can download the Designer Launcher and start working on projects. Follow the steps to add a Designer for your Cloud Gateway just like you would for any other edition of Ignition.
Creating an EC2 Instance Using the Ignition Cloud Edition AMI
Launch From AWS Marketplace
-
Go to the AWS Marketplace and search for Ignition Cloud Edition.
-
Select the Ignition Cloud Edition AMI.

-
Once on the Ignition Cloud Edition AMI product page, click on Continue to Subscribe.

-
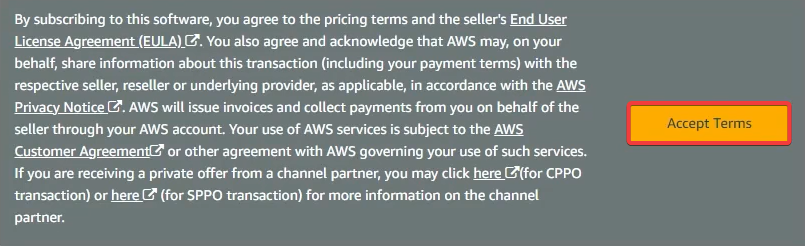
You will be prompted to accept the terms of the EULA. Click Accept Terms.
-
After AWS has fulfilled your subscription request, click on Continue to Configuration.

-
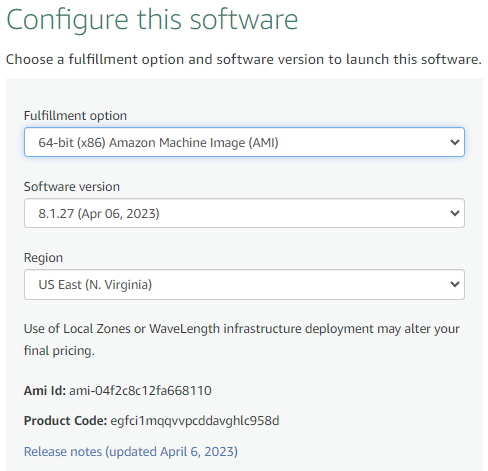
You will have options to select the fulfillment option, version, and region to launch the software. In most cases, you won't need to change any settings. Make your selections, then click Continue to Launch.
-
On the "Launch this software" page, you can quickly set up many essential services your EC2 instance will need to function properly. In this example however, we will select Launch through EC2 under the Choose Action dropdown, and then click Launch.
 note
noteAlthough we can directly launch our Cloud Edition EC2 instance from this page, launching from the EC2 service will make it easier to set up other necessary elements, such as a VPC, subnet(s), and more. Additionally, the EC2 console contains other advanced settings you may be interested in configuring.
-
You will be taken to your EC2 Service in a new tab, where you can fill out information about your new EC2 instance. Begin by giving your EC2 instance a name.
 note
noteSince we started creating the EC2 instance from the AWS Marketplace, the Application and OS Images section will already be filled out.
-
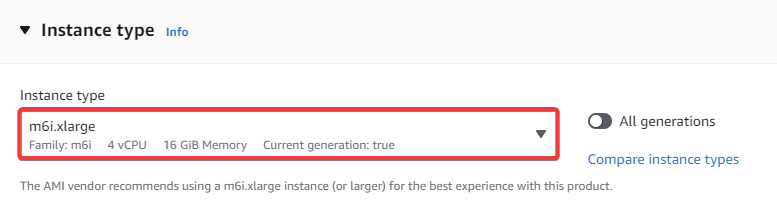
Select the Instance Type you want your EC2 instance to use. In this example, we are using the default selection of m6i.xlarge.
-
Select the key pair you want to use or create a new key pair. Alternatively, you can omit using a key pair, but for security purposes, this is not recommended.
-
Next, configure your network settings. For more information on configuring these settings, see the Cloud Edition - AWS Networking and Security page.
-
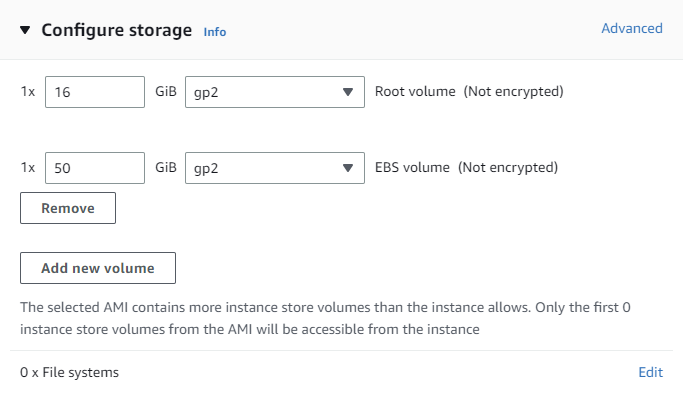
Choose the amount of storage you want for your Root volume and EBS volume(s). You can also add or remove volumes as needed.
-
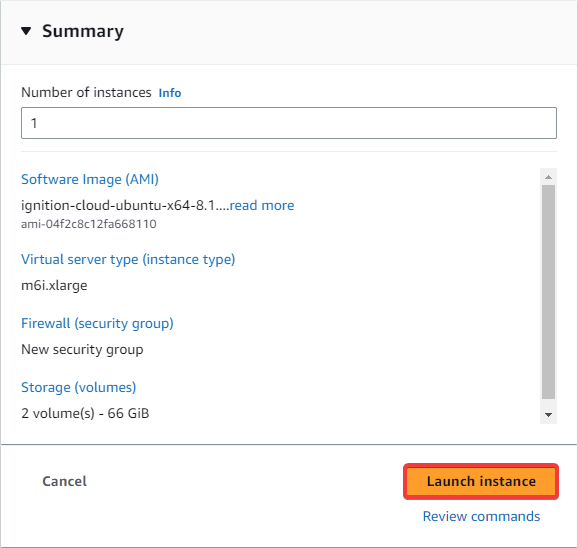
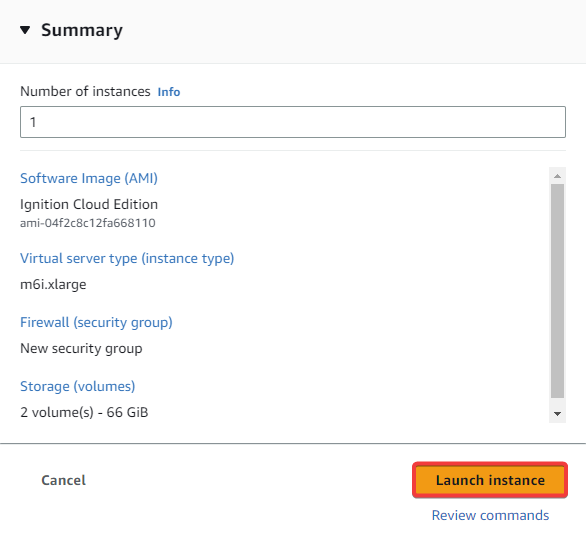
You can set up additional advanced settings under Advanced details. Once you are done, go to the Summary section to get a quick glimpse at the new EC2 instance's configuration, then click Launch instance.
-
AWS will attempt to create your EC2 instance. Once complete, a green Success banner will show at the top of your page. To find your new EC2 instance, go back to the EC2 service in your AWS console, and click on Instances.
Launch From EC2 Service
-
Go to the EC2 Service in your AWS Console.
-
Click on Instances under the Instances section.

-
Click on Launch instances.

-
You will be taken to a page to fill out information about your new EC2 instance. Start by choosing a name.
-
Next, you will need to select Inductive Automation's Cloud Edition AMI. In the Application and OS Images (Amazon Machine Image) section, click on Browse more AMIs.

-
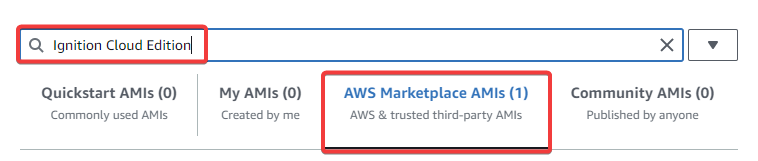
To find the official IA Cloud Edition AMI, enter "Ignition Cloud Edition" in the search bar at the top. The AMI will be listed under AWS Marketplace AMIs.
-
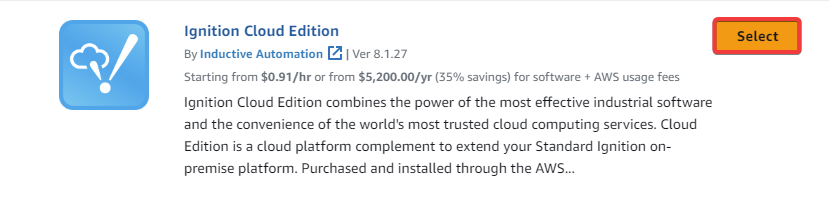
Once you have located the Ignition Cloud Edition AMI, click Select, then Continue.
-
You will be brought back to the EC2 creation form. From here, select the Instance type you want to use. In this example, we will leave the default selection of m6i.xlarge.

-
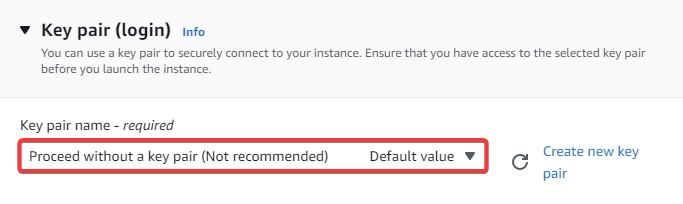
Select the key pair you want to use. You can also create a new key pair, or not use a key pair at all. In our example, we will Proceed without a key pair.
tipFor security purposes, we recommend that you use a key pair when creating your EC2 instance.

-
You will then need to configure your network settings. For more information on configuring these settings, see the Cloud Edition - AWS Networking and Security page.
-
Configure the amount of storage you want for your Root volume and EBS volume(s). You can also add or remove volumes.

-
Configure any advanced settings you'd like under Advanced details, then proceed to the Summary section. Once you are satisfied with the selections, click Launch instance.
-
AWS will now create your EC2 instance. Once complete, a green Success banner will show at the top of your page. To find your new EC2 instance, go back to the EC2 service in your AWS console, and click on Instances.