Upgrading Ignition within Cloud Services
Accessing the Ubuntu OS through SSH
The official Ignition CE platform is installed on a headless Ubuntu OS for either an AWS EC2 or Microsoft Azure Virtual Machine (VM). To perform an Ignition CE upgrade on your existing cloud environment, you will first need to SSH into the Ubuntu OS in order to perform a series of commands through its Command Line Interface (CLI). Each cloud service has their own method of directly accessing the Ubuntu OS.
AWS EC2
The upgrade process for the official Ignition AMI being hosted on an AWS EC2 instance assumes you are running Cloud Edition (CE) on an existing AWS EC2 instance. To create a new EC2 instance with CE, launch an instance using the official CE Ignition AMI publicly available at the AWS Marketplace. Once your instance is successfully running with CE, navigate to the EC2 Management Console of your AWS Account and refer to the following steps:
-
On your EC2 Management Console, navigate to the Instances page located on the left-hand side navigation panel.
-
Under the Instances page, locate the specific instance containing Ignition CE from the instances table and select its checkbox. Ensure that your instance is running properly before continuing.
-
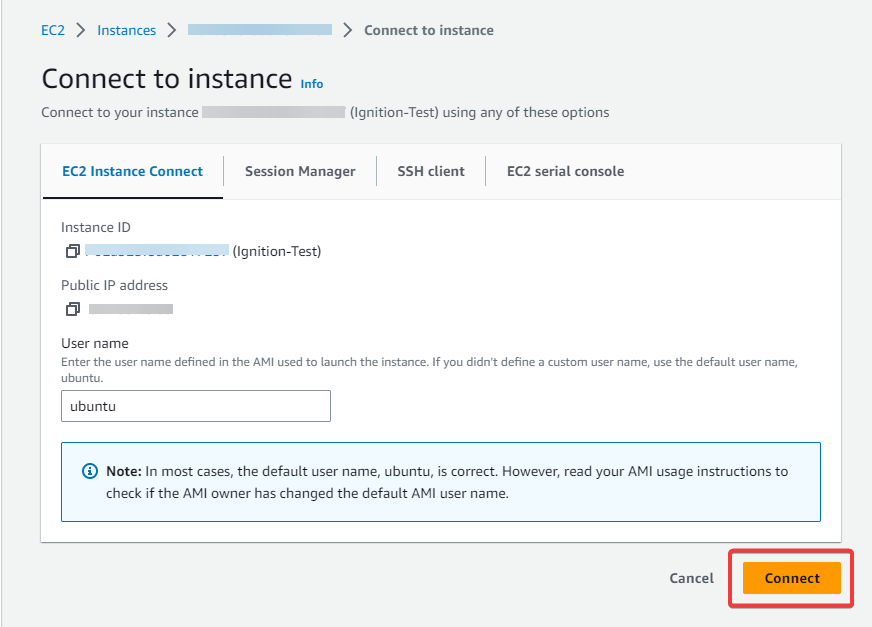
Once selected, click on the Connect button located above the instances table to navigate to the Connect to instance page.
-
Select the default option EC2 Instance Connect. The User name section by default will be "ubuntu", which is also the default user name specified for the AMI. Click Connect at the bottom right-hand corner to connect to the CLI of the running Ubuntu OS for your EC2 instance through your web browser.
Microsoft Azure VM
The upgrade process for the official Ignition image hosted on Microsoft Azure assumes you are running Cloud Edition (CE) on an existing Azure VM. To create a new VM with CE, launch an instance using the official CE Ignition AMI publicly available at the Azure Marketplace. Once your VM is successfully running with CE, navigate to your Azure Portal and complete the following steps:
-
On your Azure Portal homepage, navigate to the Virtual Machines page listed under Azure Services.
-
Under the Virtual Machines page, locate and select the specific VM record containing Ignition CE from the list. Ensure that your VM is running properly under the status column before continuing.
-
Inside the specific VM configuration menu, click on the Connect button located above the Essentials section to review details for establishing SSH Clients with your existing Azure VM.

-
A third party SSH client of your choice will be required for completing step 3. For this example, PuTTY was used. Initial login of the SSH client will require the username specified during Azure VM creation. The default username is "azureuser".

Upgrading Ignition Cloud Edition
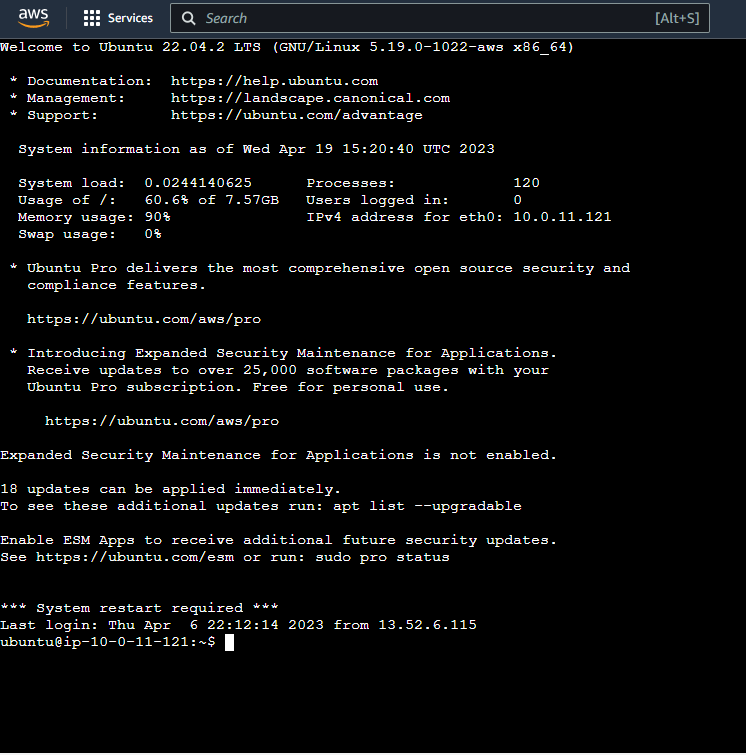
Once you are successfully connected to the CLI of the Ubuntu OS, you will now be able to fetch the latest version of the Ignition CE installer from the Inductive Automation’s downloads page.
-
Navigate to the section of Linux system installers and right-click > Copy Link Address against the link labeled: Ignition Cloud - Linux Installer 64-bit.
-
Enter the following command on the CLI using the link copied from the previous step.
noteThe following URL https://releases.inductiveautomation.com/nightly/8.1.29-SNAPSHOT/20230523-1027/ignition-cloud-8.1.29-SNAPSHOT-linux-64-installer.run is a placeholder and will vary depending on address link copied from the Inductive Automation downloads page
wget --referer https://inductiveautomation.com/* https://releases.inductiveautomation.com/nightly/8.1.29-SNAPSHOT/20230523-1027/ignition-cloud-8.1.29-SNAPSHOT-linux-64-installer.run -
Once the download is complete, you will need to update the installer file’s permissions before it can be executed. Enter the following command on the CLI:
chmod 700 ignition-cloud-8.1.29-SNAPSHOT-linux-64-installer.run -
Confirm that the file’s permissions were changed to allow executions using ls -l.

-
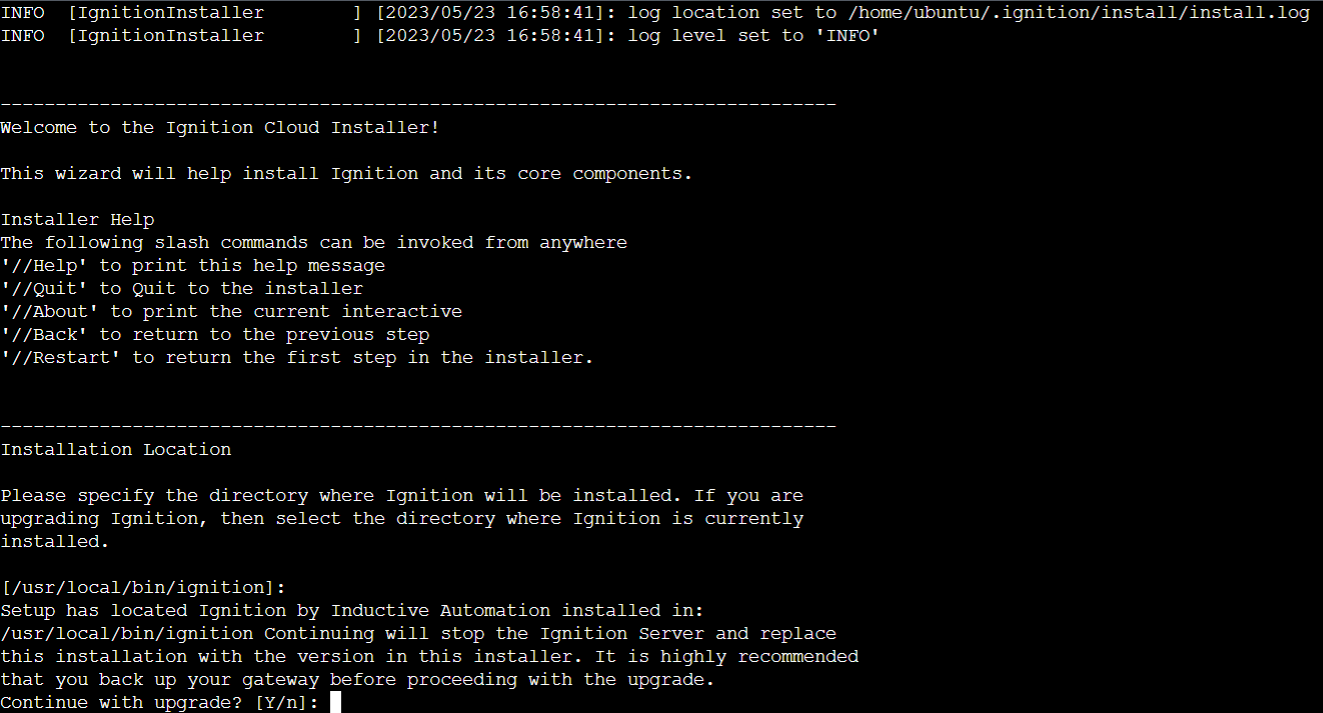
Once the file is set as an executable, run the installer on the CLI by entering the following:
./ignition-cloud-8.1.29-SNAPSHOT-linux-64-installer.run -
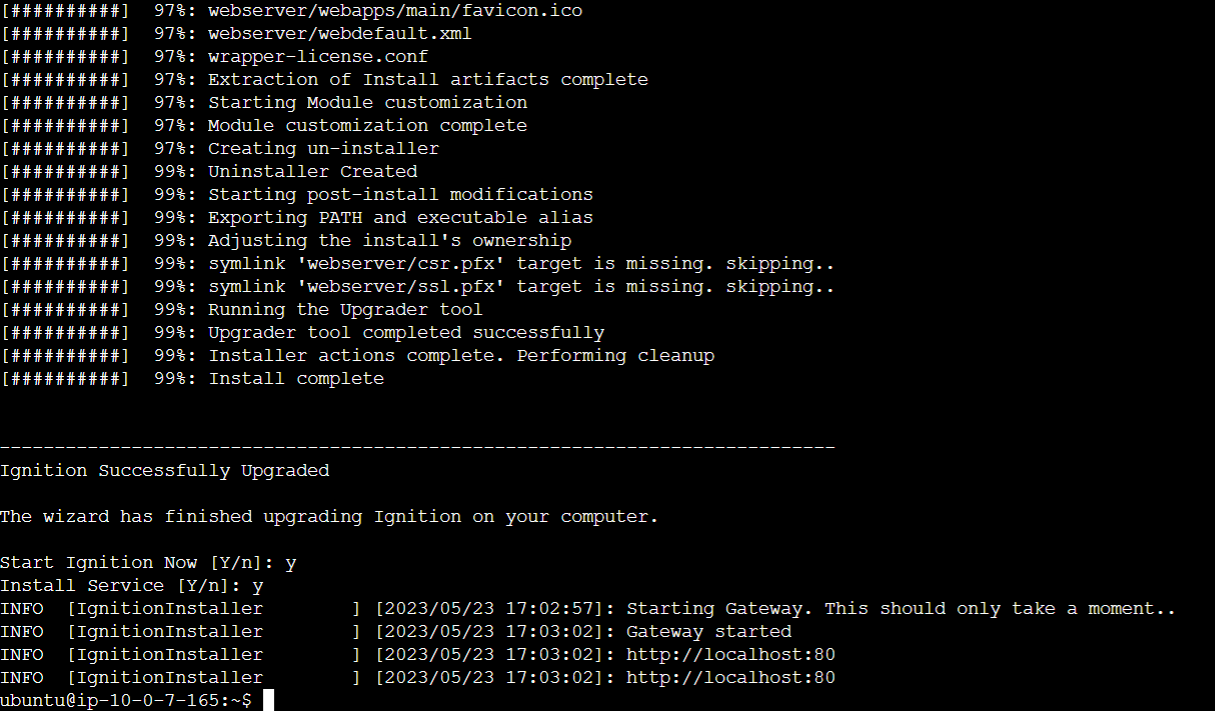
Once entered, the file will run and will first prompt you to specify where the existing Ignition install directory resides. The Cloud Edition AMI by default uses the directory /usr/local/bin/ignition during installation and is already specified for you on the prompt to accept by default as well. Simply hit enter to continue if all default settings were specified or specify the custom directory of your Ignition install if needed. If an existing directory is detected, you will be prompted to confirm the upgrade process.
-
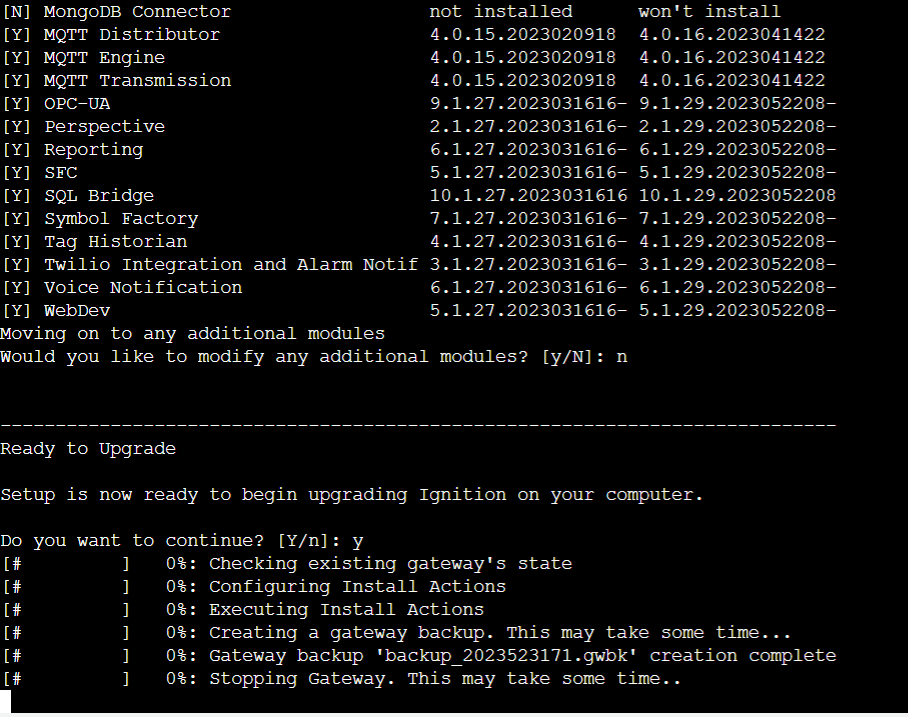
Once the upgrade process is accepted, you will also be given a few more prompts to confirm any individual module upgrades and additional module inclusions. Details of all currently installed modules will be provided. Confirm these prompts to receive the final confirmation for running the upgrade process.
-
The CLI will notify you when the upgrade process is complete and will also state error logs in the event of an issue. Once the upgrade process is complete, you will be prompted to both start the Ignition server and install a service for doing so. Starting the service will provide log details on what is running successfully.
-
Once the Ignition service has started, you can exit the CLI and return to your instances page or navigate to your Ignition Gateway webpage.