Named Query Workspace
Named Query Workspace Overview
Named Queries have a dedicated workspace inside of the Project Section of the Designer. This workspace allows for the creation and testing of Named Queries. Once created, the Named Query may be called from another resource, such as a datasource in a report or a component using a Named Query binding.
Named Queries are created by right-clicking the Named Query item in the Project Browser. Like other resources in the Project Browser, Named Queries can be organized in folders, which creates a unique path to the query and helps keep your queries organized.
Named Queries are referenced by path, so renaming the Named Query or any parent folders will require you to update the path on any other resources that are using it.
Also like other resources, multiple Named Queries may be opened in the same Designer session. Tabs at the bottom of the Designer allow for easy swapping between Named Queries.
Workspace Sections
The Named Query workspace contains three tabs: Settings, Authoring, and Testing. A description of each section follows.
Settings
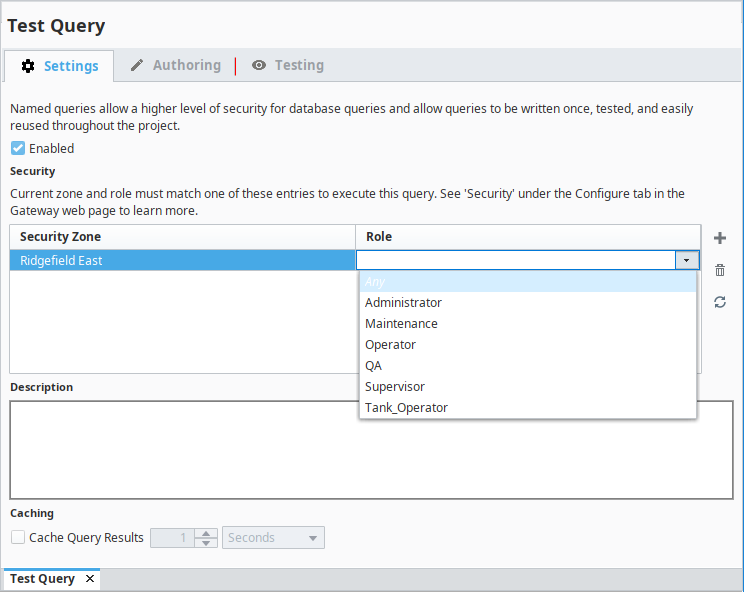
This Settings tab contains configuration properties and security for the selected Named Query.

The following properties are available:
| Item Name | Description |
|---|---|
| Enabled | Determines if the Named Query is enabled or disabled. A disabled Named Query may not be executed. |
| Security | Specifies a combination of Security Zones and Roles that may call the Named Query. Only roles in the projects user source will be available in the Role dropdown. Multiple rows may be configured to account for granular access restrictions (i.e., requests from Administrator roles originating from the Office security zone area could be allowed, while requests from same users in the plant floor zone could be denied). If the request does not match any of the specified zone and role combinations, then the query will not run. Additionally, if a ScalarQuery type has a Fallback value configured, that Fallback value will not be returned either: the query will not execute due to security settings, so there is never a chance for other errors to occur. Either the Security Zone or the Role (but not both) may be left blank. This means it is available to all objects of that type (i.e., with a blank Role and the "office" Security Zone, all roles in the "office" zone are valid). |
| Description | Allows you to give the Named Query a description. |
| Caching | Allows the Gateway to cache the results of the query. See the Named Query Caching page for more details. |
Authoring
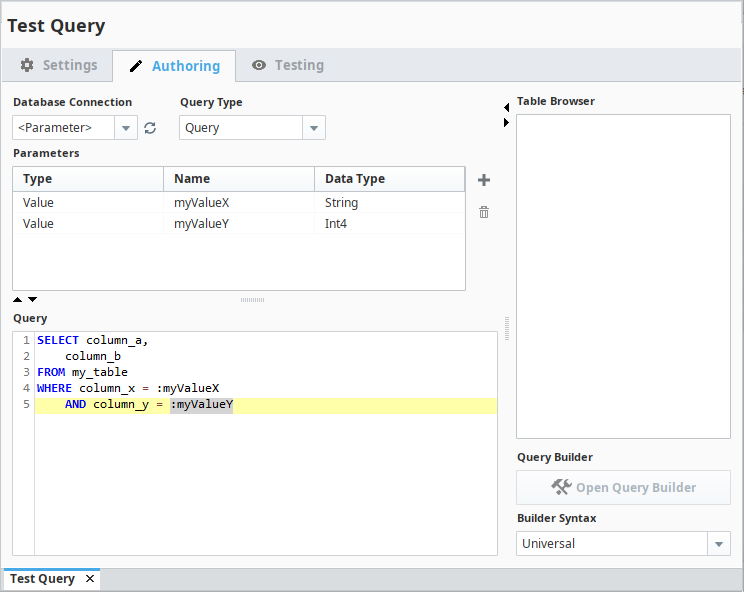
The Authoring tab is where the query and parameters are created. There is also a Table Browser and Query Builder that can be used to help you to create your query.

Starting in Ignition 8.1.24, switching to another tab from the Authoring tab will automatically commit any changes to the Named Query's parameters.
| Item Name | Description |
|---|---|
| Database Connection | The database connection the Named Query should run against. In addition to a list of the database connections configured in the Gateway, this dropdown contains two unique values:
<Parameter> connection type.  |
| Query Type | The type of query to execute. The following options are available:
|
| Parameters | A table of the parameter names and types that will be used in the query. These parameters have three types, Value, QueryString, and Database. Most commonly, the Value type is used and can be accessed by using the :paramName notation. More details on this field may be found on the Named Query Parameters page. |
| Query | The query that will execute when the Named Query is called. You can type directly into this field or use the Table Browser on the right to get started. Right-Clicking inside this field will cause a popup menu to appear:  Most of the items on this menu are self-explanatory, but a few require special mention: Parameterize: Contains two sub-menu items, which are detailed below. Note, that the sub-items will be disabled unless you right-click on some text that does not reference a parameter, table name, or column name in the query.
|
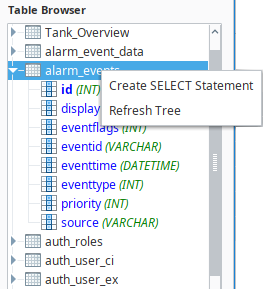
| Table Browser | Provides a list of the tables in the selected Database Connection. Tables may be dragged into the Query field to quickly insert the name of the table. Additionally, right-clicking on a table in the list will cause a popup menu to appear:
|
| Query Builder | Opens the Query Builder, which provides an easy way to create SQL queries using a drag-and-drop interface. This button will be disabled if the Database Connection property is set to <Parameter>. This is the same Query Builder used in other places like the reporting data page. |
| Builder Syntax | Specifies the syntax the Query Builder should use. Contains syntax for many popular databases, and has a Universal selection that should work in most scenarios. |
Testing
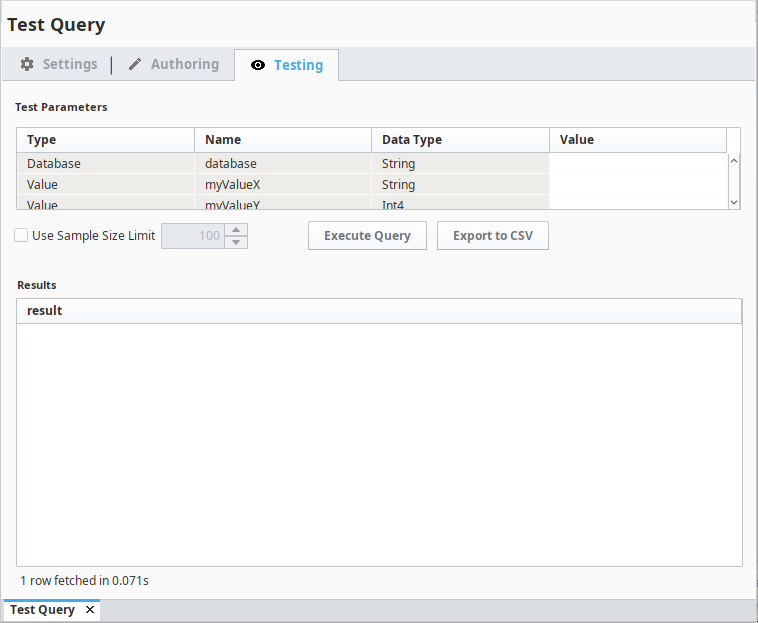
In the Testing tab, you can test your query without leaving the workspace. Fill in your values and click the Execute Query button to see your results.

If your Named Query is using a DateTime parameter, you can expand the DateTime picker to easily set a DateTime value.
| Item Name | Description |
|---|---|
| Test Parameters | Allows you to manually supply test values to the parameters to the queries. The table is populated by the Parameters field on the Authoring section. |
| Use Sample Size Limit | When checked, allows you to set the maximum number of rows the query will return while testing the Named Query. In addition this setting also limits the results of that named query called elsewhere in the Designer. This property is only enabled when the Query Type on the Authoring section is set to Query. |
| Execute Query | Runs the Named Query using the parameter values listed above. The Results area will display any results returned by the query. |
| Export to CSV | Exports the results of the query to a CSV file. The button becomes available after results are returned. Note that this will only return the values shown, check the Sample Size Limit when using this button. |
| Results | The results returned by the Named Query when testing. Populated by the Execute Query button. |