Creating a Controller
To set up the EAM, you must first designate one machine as the controller. Keep track of the IP address of this machine, as you must enter this address on each agent during agent installation.
Install the EAM module in the Gateway if it has not already been installed. After module installation, you must designate a database connection that will be used by the controller to store agent event history. Navigate to Config > Databases > Connections, and set up a connection to the database that you intend to use.
- If you have any existing installations of Ignition running, it's a good idea to perform a backup before you begin this process.
- If you have 2 or more Gateway Webpages open in your browser, you may want to have the Controller and Agents on separate monitors so you don't get confused which one you are working on.
- It's always a good idea to verify that all your modules are loaded correctly. Go to Config > Modules to check which modules you have installed.
Set Up a Controller
-
Navigate to Config > Enterprise Administration > Setup. You will now enter the EAM Setup Wizard.
-
Since you are installing the controller, select Controller on this screen. Click Next.

-
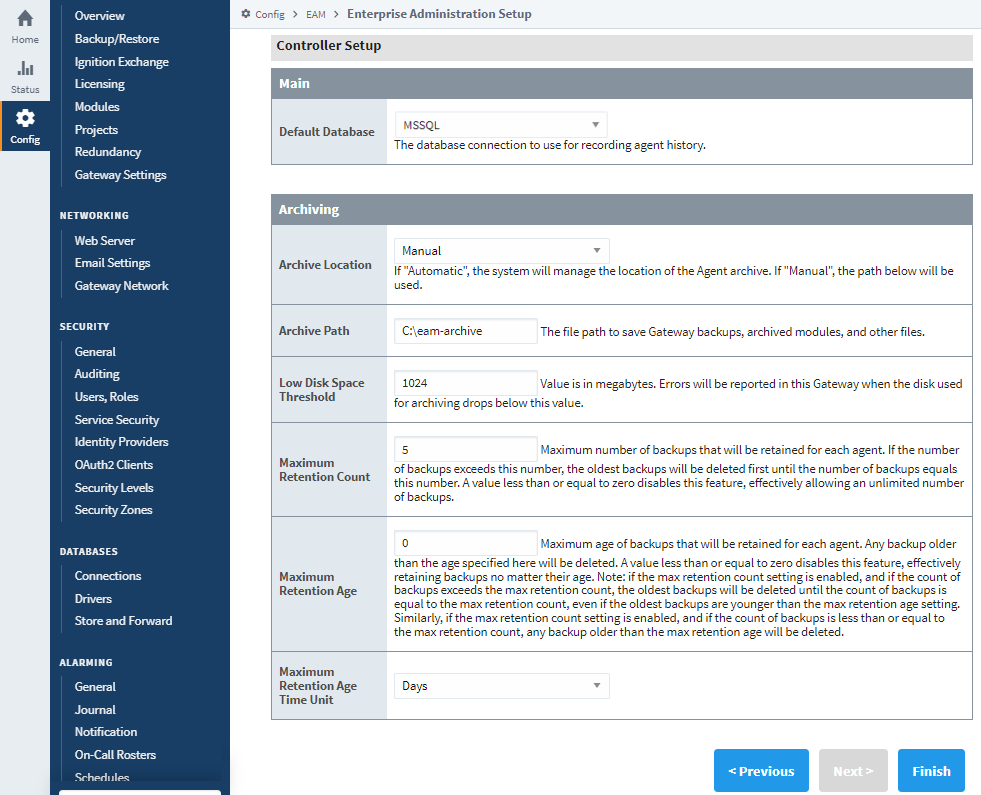
Next you need to set up the controller.
- Default Database - For the default database, you must select the database connection that you created before entering the EAM Setup Wizard. If you forgot to create the database connection, you can do so now and return to the EAM Setup Wizard later.
- Archive Path - This is a file path on the Gateway’s local machine where all archived files will be stored. You can use a locally mounted network share for archiving. Use a value such as C:\eam-archive. It is strongly recommended that you put a system into place to externally monitor the free size of the disk that contains the archive. Gateway backups can potentially be many megabytes in size, and can eat up large volumes of space when using many agents.
-
After you have determined your settings, click the Finish button to save the controller settings and exit the wizard. This machine is now ready to accept agents.
-
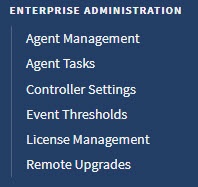
Once you set up your Controller, the Setup option disappears in the menu and is replaced with a list of Enterprise Administration menu options.
Remove a Controller
-
To remove a Controller, from the Gateway, go to Config section.
-
Scroll down and select Enterprise Administration > Controller Settings.
-
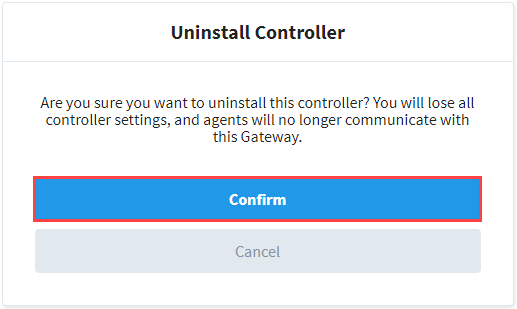
Click the Uninstall Controller link.

-
A confirmation window will appear. Click Confirm to complete uninstalling the controller.
Controller Settings
The table below lists the main properties found in the Controller Settings:
| Setting | Description |
|---|---|
| Default Database | The database connection to use for recording agent history. |
The table below lists the archiving properties found in the Controller Settings:
| Setting | Description |
|---|---|
| Archive Location | Choose between Automatic and Manual. If Automatic, the system will manage the location of the Agent archive. If Manual, the path from the "Archive Path" setting will be used. |
| Archive Path | The file path to save Gateway backups, archived modules, and other files. Disabled if the Archive Location setting is set to Automatic. |
| Low Disk Space Threshold | Value is in megabytes. Default value is 1024. Errors will be reported in this Gateway when the disk used for archiving drops below this value. |
| Maximum Retention Count | New in 8.1.19 Maximum number of backups that will be retained. If the number of backups exceeds this number, the oldest backups will be deleted first until the number of backups equals this number. A value less than or equal to zero disables this feature, effective allowing an unlimited number of backups. Default is 5. |
| Maximum Retention Age | New in 8.1.19 Maximum age of backups that will be retained. Any backup older than the age specified here will be deleted. A value less than or equal to zero disables this feature, effectively retaining backups no matter their age.Note: if the Maximum Retention Count setting is enabled, and if the count of backups exceeds the max retention count, the oldest backups will be deleted until the count of backups is equal to the max retention count, even if the oldest backups are younger than the "Max Retention Age" setting. Similarly, if "Max Retention Count" is enabled, and if the count of backups is less than or equal to the max retention count, any backup older than the max retention age will be deleted. |
| Maximum Retention Age Time Unit | New in 8.1.19 The time unit to use when specifying the Maximum Retention Age setting. Choose between Days, Weeks, Months, or Years. Default is Days. |